
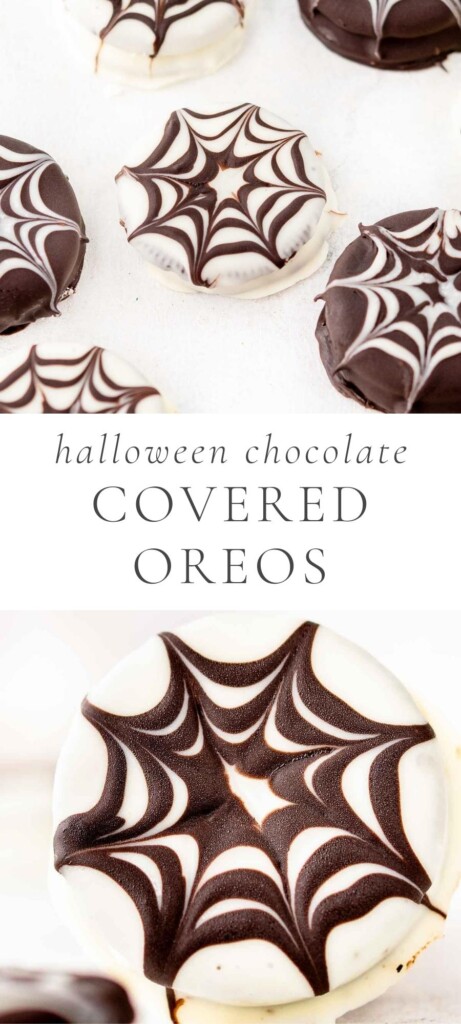

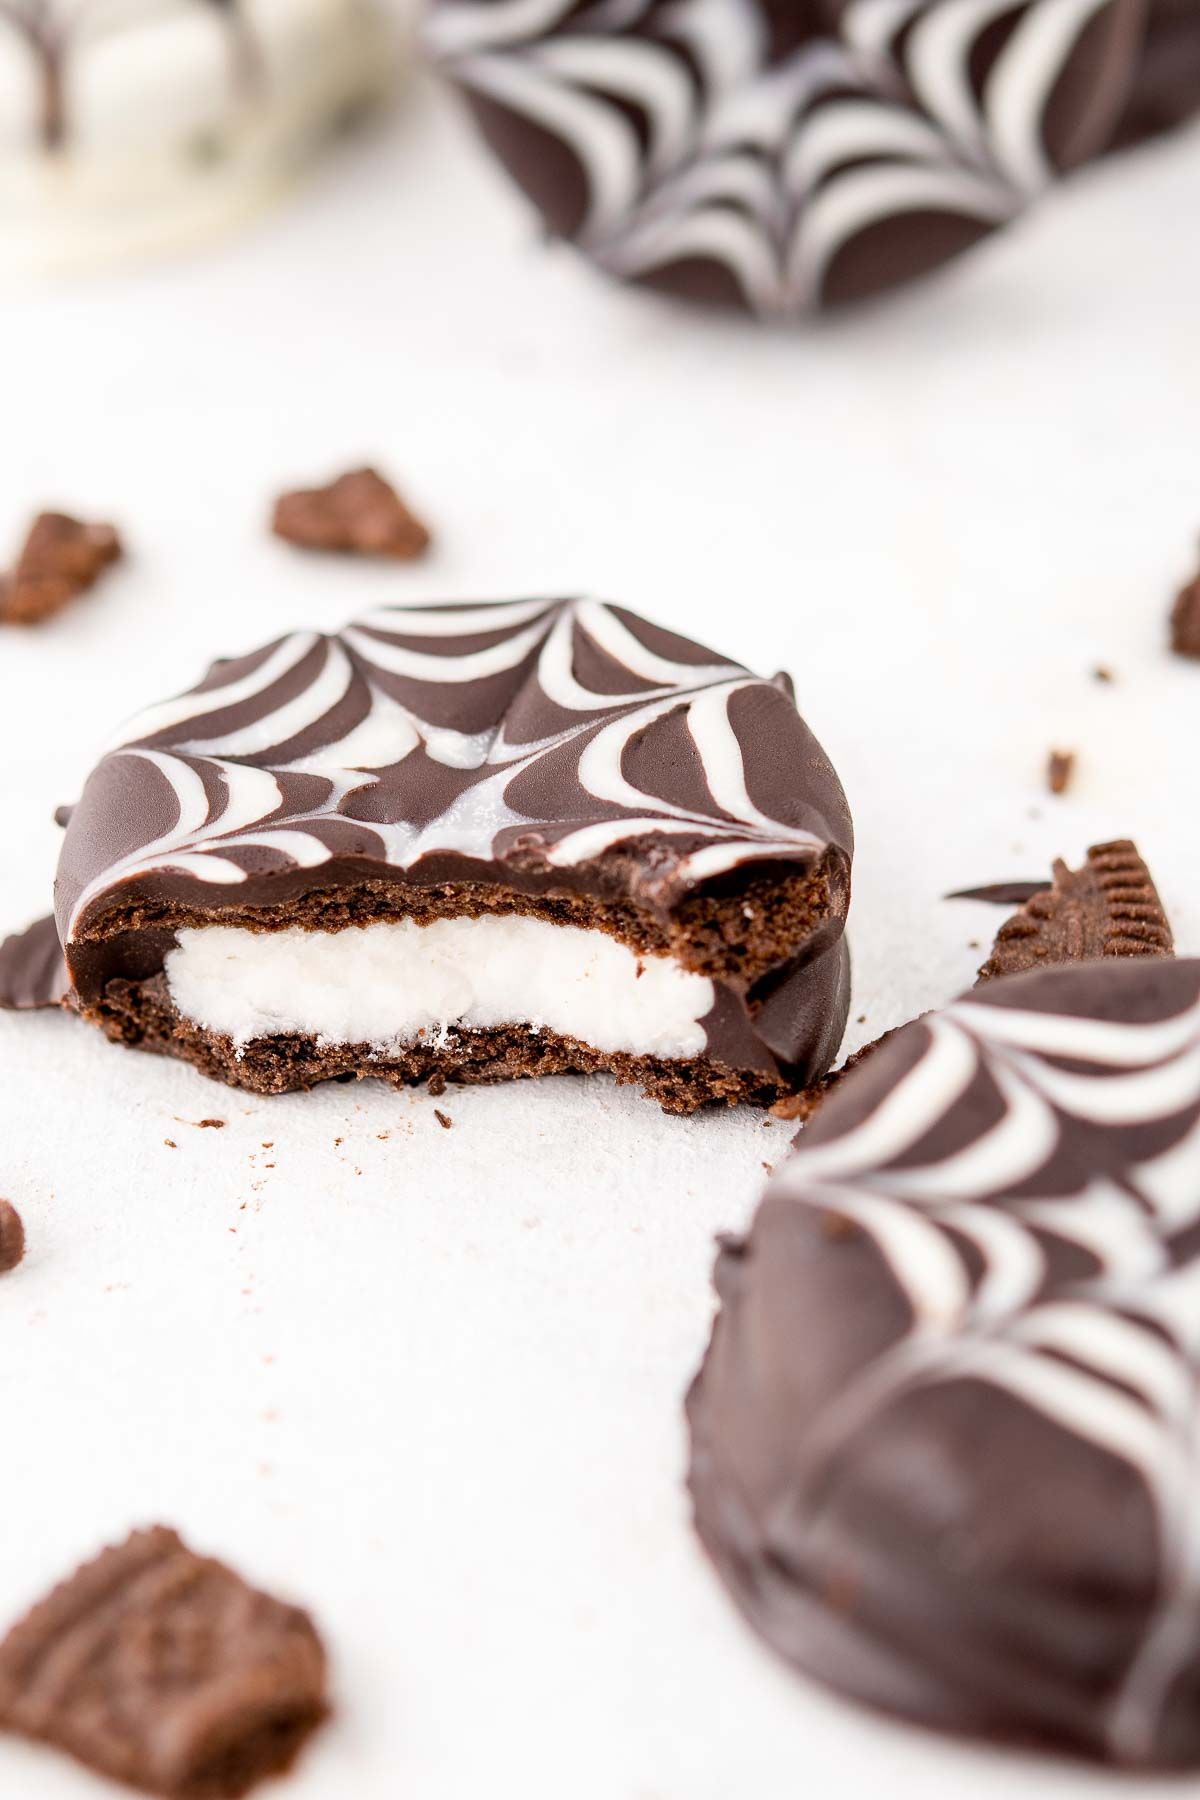
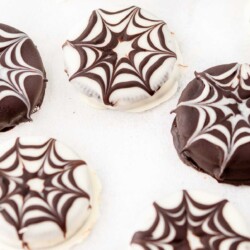
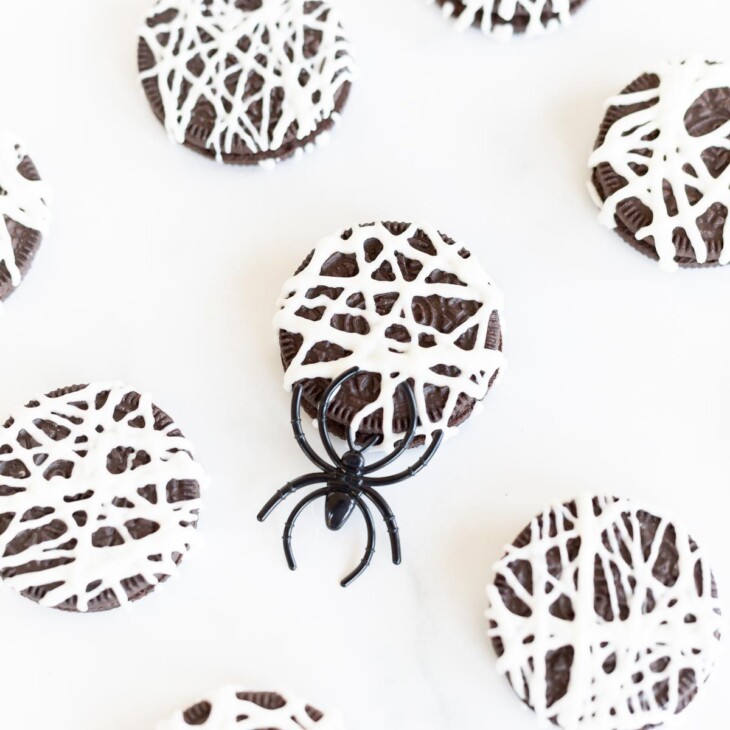
These spooky little spider web Halloween Chocolate Covered Oreos are frightfully fun. Chocolate dipped Oreo cookies are sweet, crunchy, and require zero baking skills!
Learn how to make these gorgeous spider web Oreos. With just four pantry ingredients, you’ll make treats that are the stars of the Halloween dessert display at your party!
These Halloween chocolate covered Oreos are so much fun to make, and kids will love joining in. Let’s make them together!
One of my favorite no bake cookie tricks is simply to dress up classic store bought cookies. You’ll look like an accomplished kitchen artist, with so little effort required!
In fact, we’ve shared fun Halloween Oreos before! Check out these beautiful Halloween Oreos and these No Bake Oreo Spider Web Cookies for more spooky inspiration!
Today’s Oreos are a little different, and the upgrade is worth the extra step, I promise! You’ll want to make chocolate covered Oreos every day of the year.
These are so effortless, but they feel totally decadent and special. Let’s learn how to make these fabulous spider web dipped Oreos for Halloween!
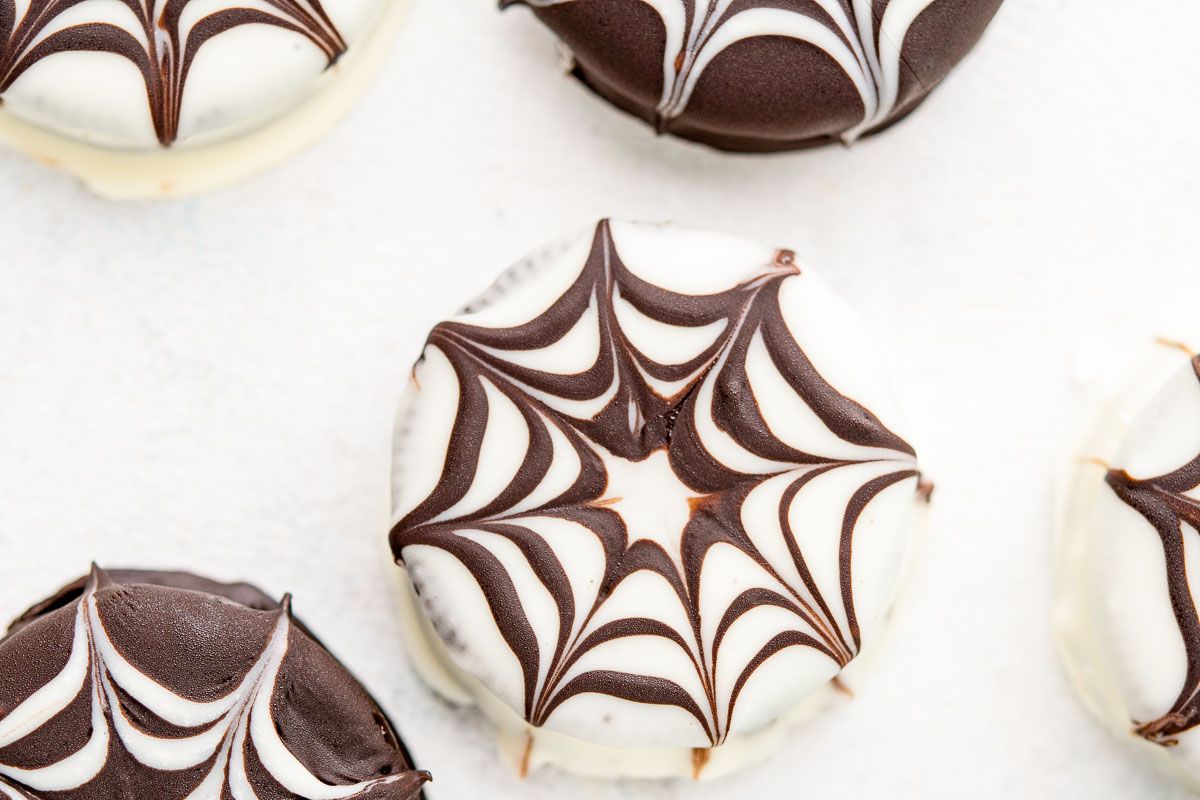
Table of Contents
Why You’ll Love these Halloween Chocolate Covered Oreos
- So Easy
- Beautiful to Serve
- Fun for Kids
- They Store Beautifully
- No Baking Required!
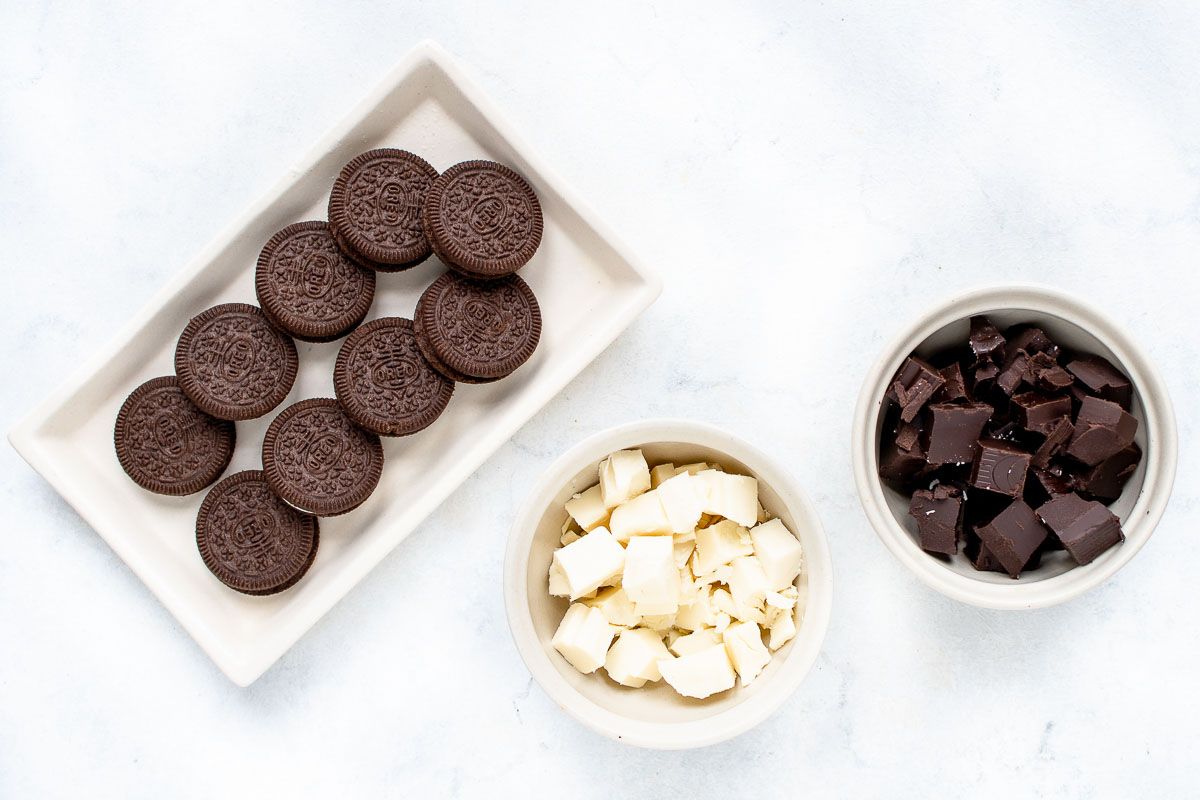
Ingredients and Substitutions
- Double Stuff Oreos – These are thicker and work beautifully for dipping.
- Dark Chocolate – We used chocolate bars. You can also use chocolate chips or candy melts in place of bars.
- White Chocolate – We used white baking chocolate. You can also use chocolate chips or candy melts in place of bars.
- Vegetable Oil – A little oil helps the melting chocolate keep at the correct consistency for dipping. You can also use Canola or even Olive Oil.
Variations
- Try different types of chocolate.
- Add Candy Spiders for an even more realistic effect!
Helpful Tools
- Cookie Sheet or Flat Baking Sheet – A traditional cookie sheet has no sides, allowing you to slide cookies off without ruining their shape after baking. A flat baking sheet works too.
- Parchment Paper – Use parchment or a silpat for easy clean-up.
- Piping Bags – Two, one for each type of chocolate.
- Cooling Rack – While not required, it’s nice to remove your cookies to a cooling rack so air can circulate and they won’t continue to cook on the sheet!
How to Make Spider Web Halloween Chocolate Covered Oreos
- Line a large baking tray with parchment paper and set it aside.
- Chop up the dark and white chocolate and put them in separate microwave-safe bowls.
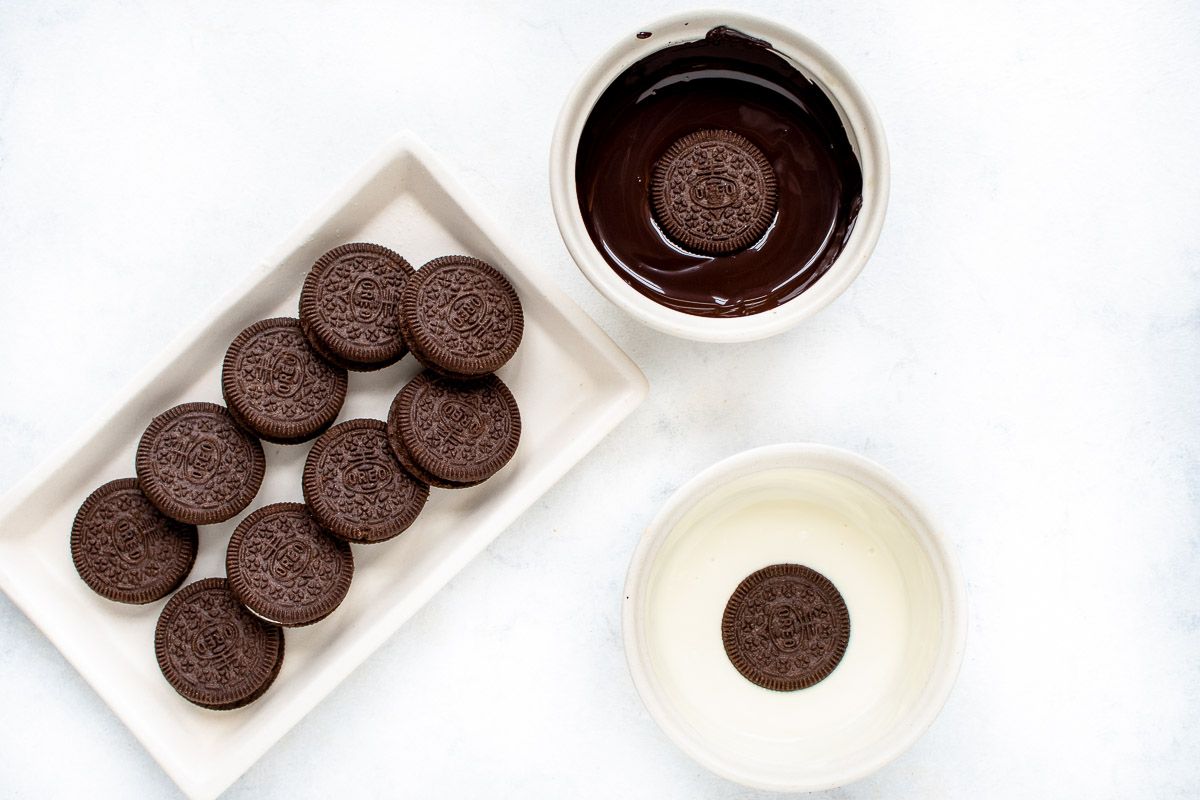
- Melt both the chocolates with oil in the microwave as directed.
- Fill two separate piping bags, (one with dark and one with white chocolate) cut off the corners and set them aside.
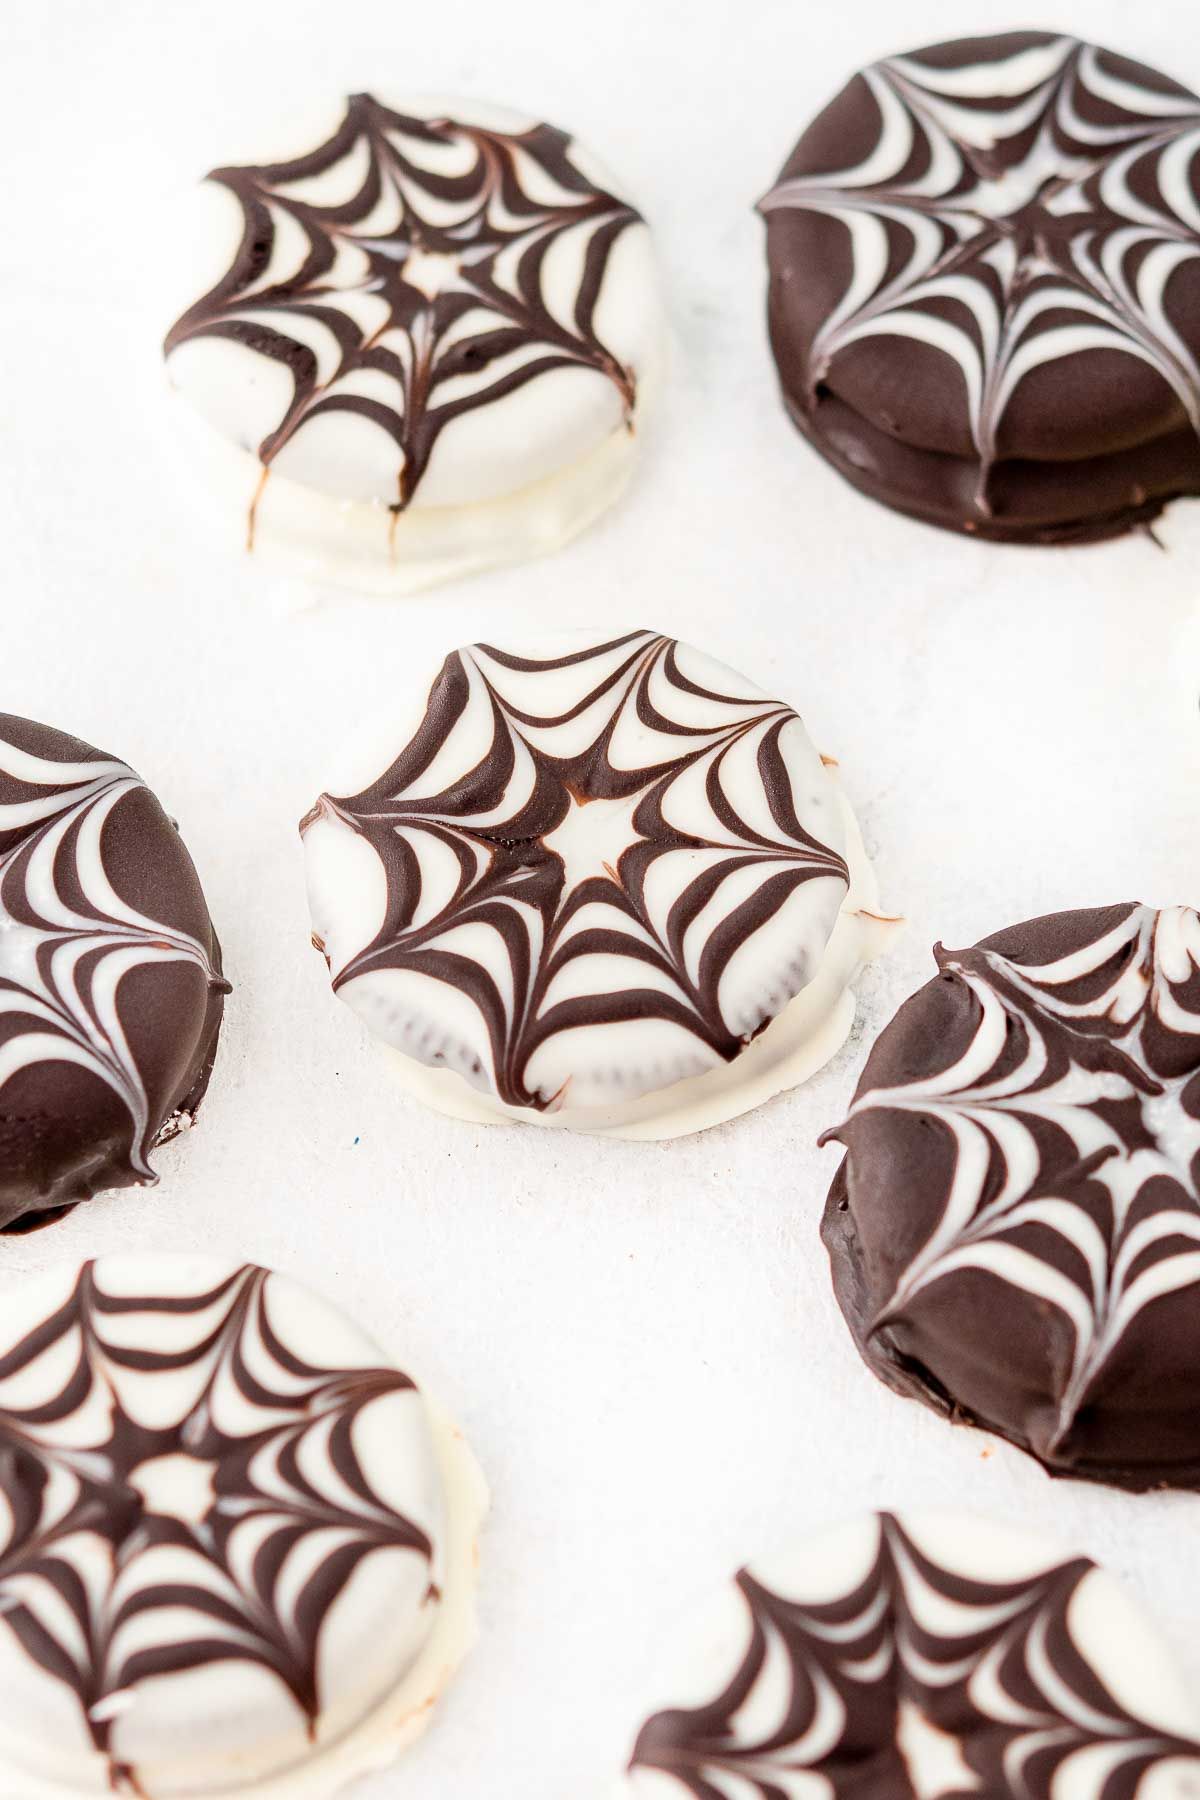
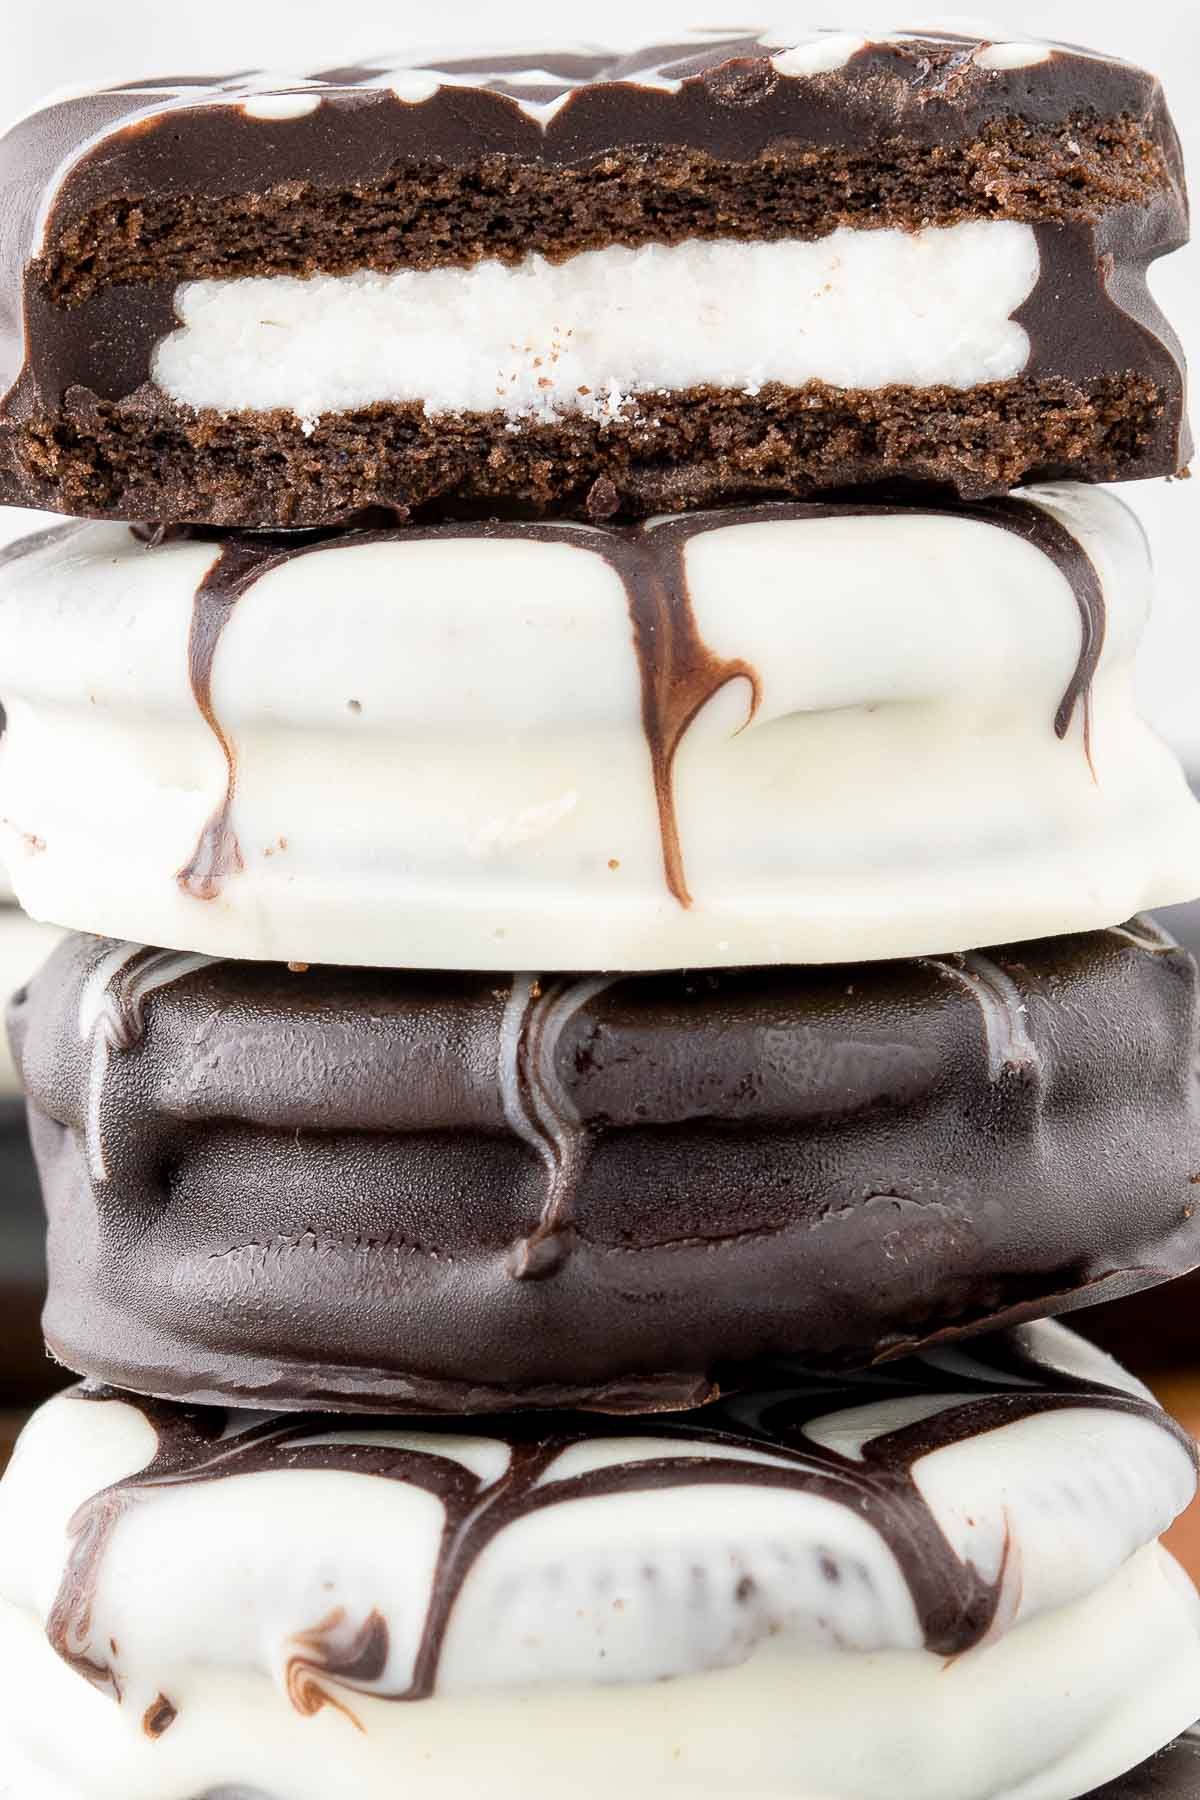
- Working with one Oreo at a time, dip the Oreo in either dark chocolate or white chocolate until evenly coated as directed, transferring it to the parchment paper-lined tray.
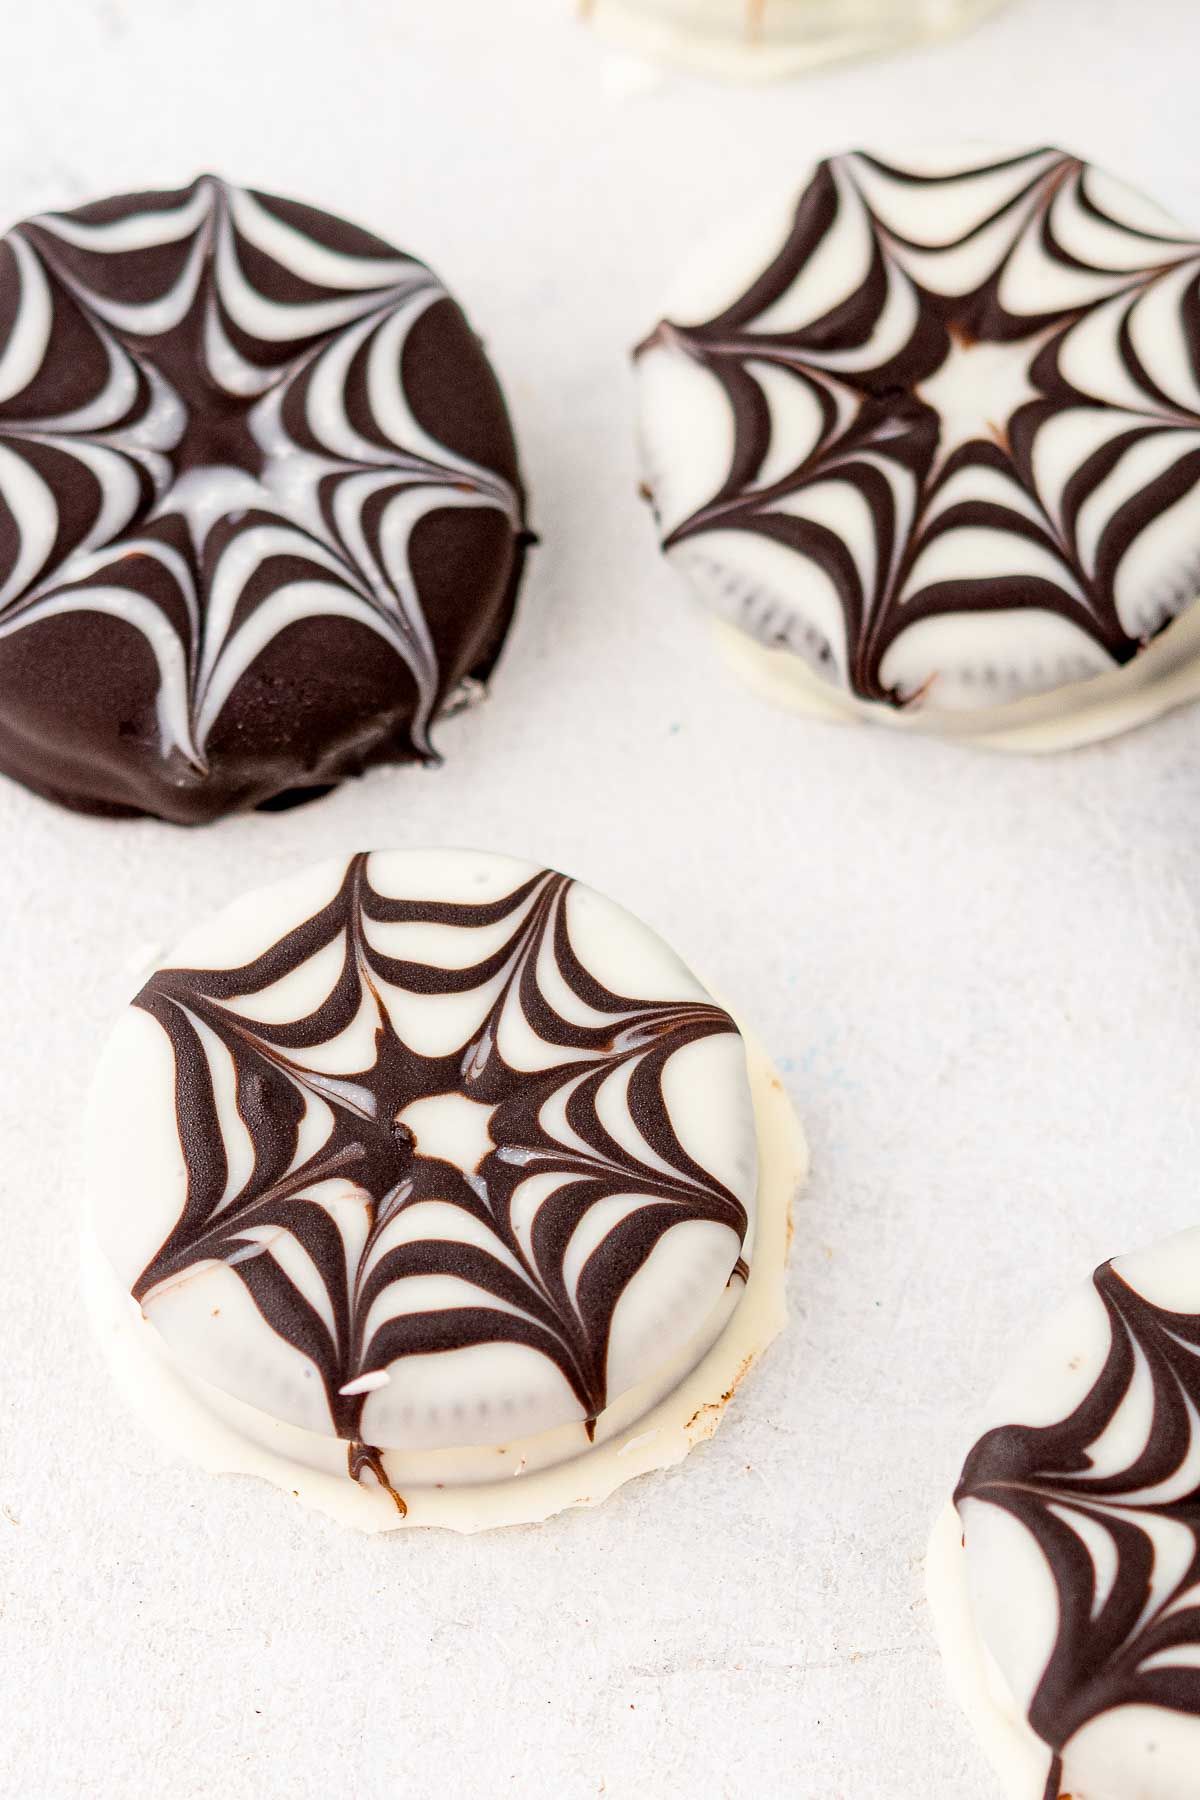
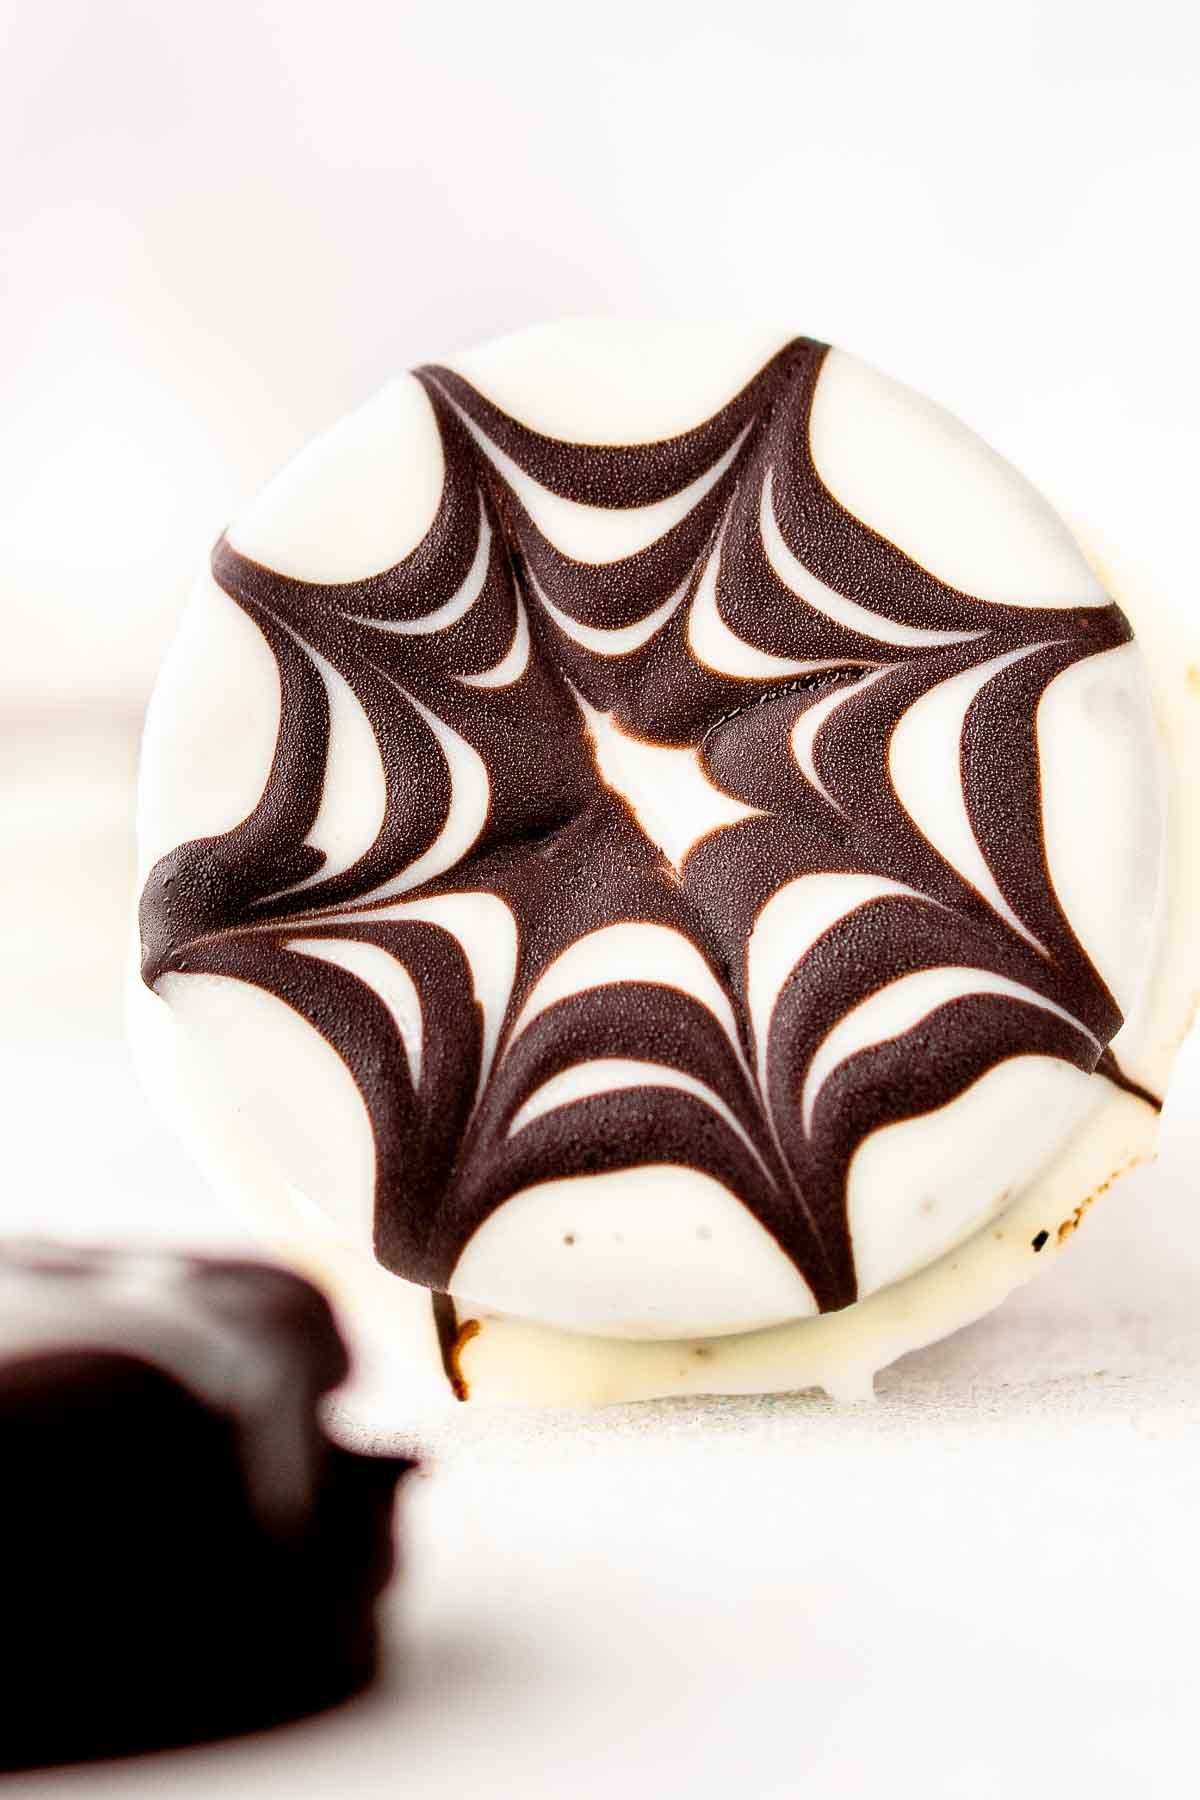
- Now, with the opposite-colored chocolate piping bag, make three rings on top of the cookie. Perfection is not necessary!

- Now using a toothpick, slowly starting from the innermost circle (center), drag a line through each circle towards the edge of the cookie to create a web as indicated.
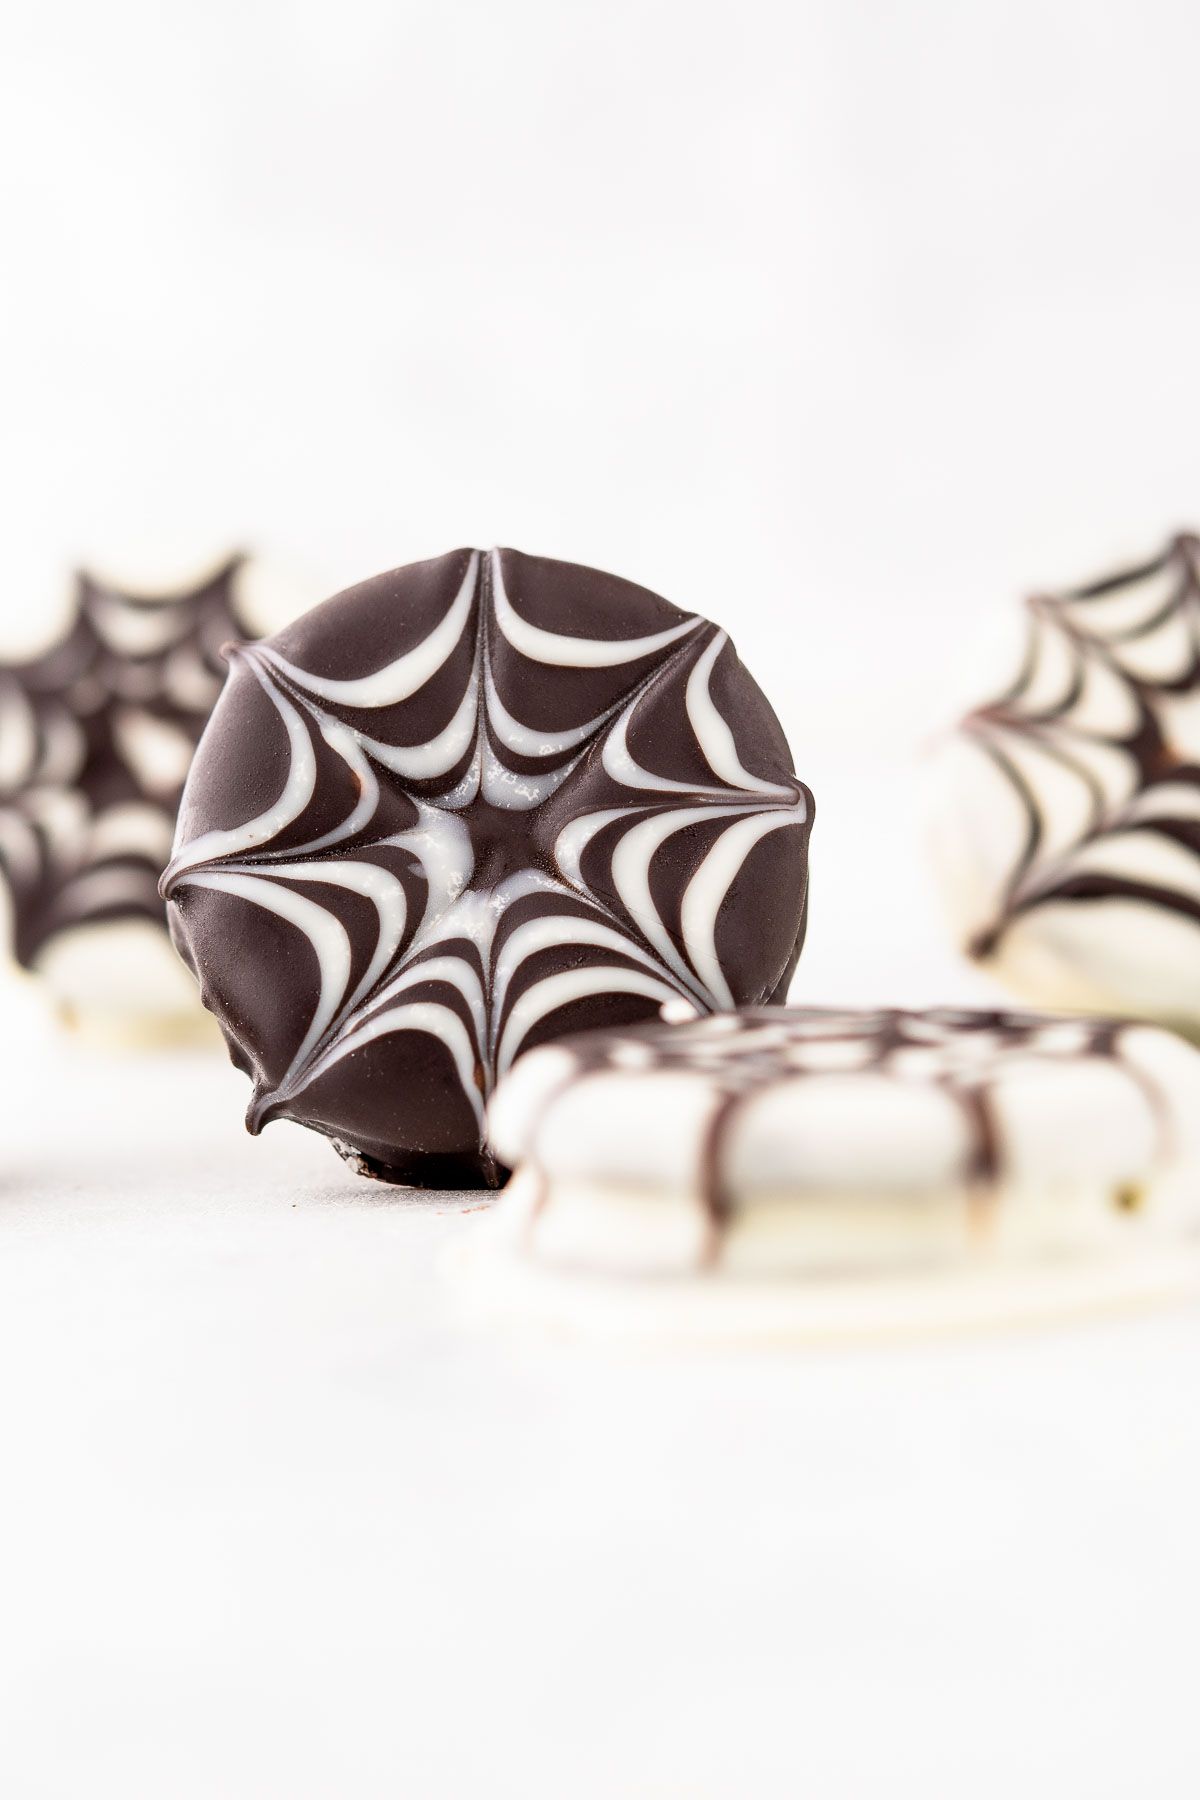
- Put them in the refrigerator to set (20-30 min). Repeat with the remaining Oreos.
- Serve or store in an air-tight container for later! Enjoy!!
Tips
- You need to work fast here because the chocolate will start setting. I found that it was much easier to work on one cookie at a time. If you can work really fast you can work with up to four Oreos at a time.
- If the chocolate has hardened in the piping bags, just pop them in the microwave and reheat for around 10-20 seconds to re-melt them.
- The number of Chocolate dipped Oreo cookies you end up with will depend on how thick you dip the chocolate.
- Double or triple the recipe using the 1x2x3x tab in the printable recipe card.
Frequently Asked Questions
Your microwave is your quickest and best bet for melting chocolate. In a microwave safe bowl, heat your chocolate in 30 second intervals, stirring frequently. When the chocolate is fully melted and smooth, it’s ready for dipping, decorating and dunking.
To thin your melted chocolate for a consistency that is appropriate for dipping, add a little oil. Butter will work as well!
How to Store
- Room Temperature – Store in a sealed container for up to 4-5 days.
- Refrigerate – Store in an airtight container for up to 10-12 days.
- Freeze – You can freeze these cookies for up to three months in an airtight container or sealed Ziploc freezer bag. Separate layers with parchment paper. However, the dipped melting chocolate may run a bit as the cookies defrost, and the Oreos may soften a bit.

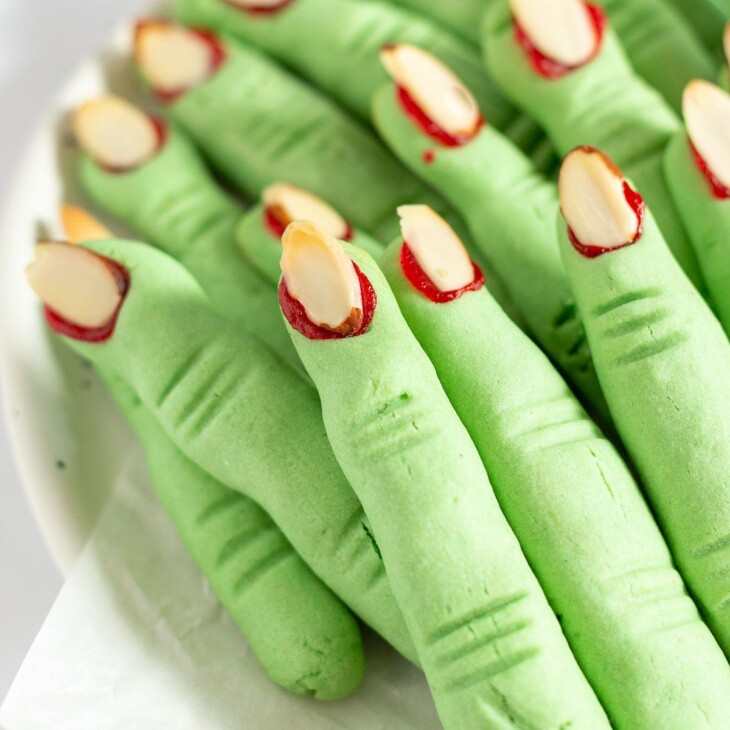
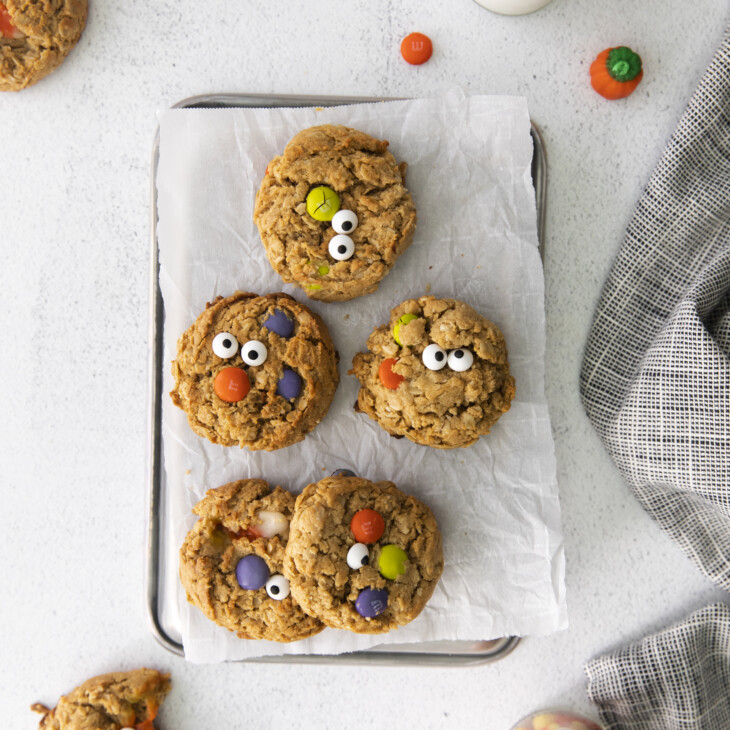
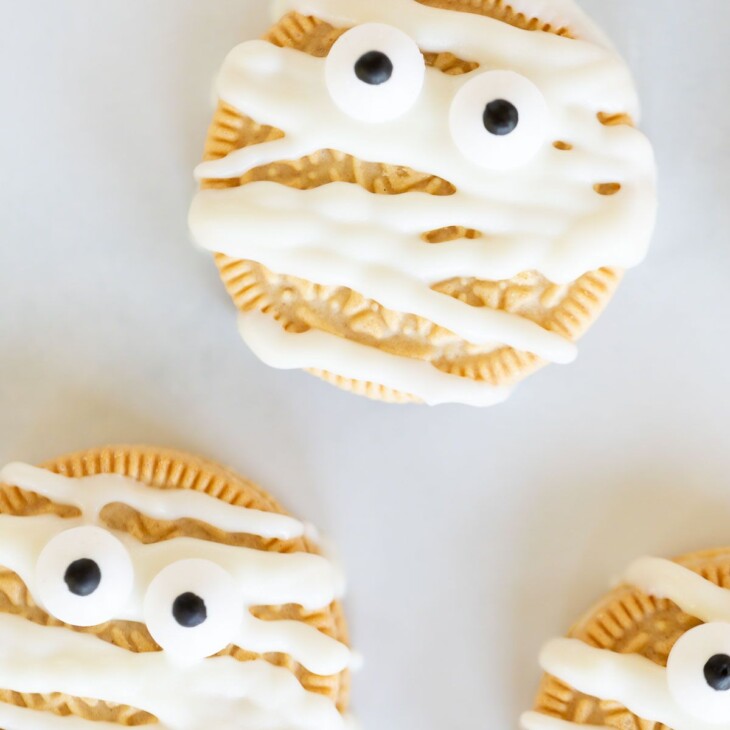
More Halloween Cookies
Halloween Cookies
Halloween Chocolate Covered Oreos
Ingredients
- 12 Double stuffed Oreos , 12-14 cookies
- 7 ounces Dark chocolate, 200 grams (Room temperature)
- 7 ounces White chocolate, 200 grams (Room temperature)
- 3 teaspoons Vegetable Oil
Instructions
- Line a large baking tray with parchment paper and set it aside.
- Chop up the dark and white chocolate and put them in separate microwave-safe bowls.
- Melt both the chocolates with 2-3 tsp of oil (any oil) in the microwave at 20-second intervals; stirring properly after each interval and reheating as necessary.
- Take out around 4-5 tbsp of each white and dark chocolate, fill them in separate piping bags, cut off the corners and keep them aside.
- Working with 1 Oreo at a time, dip the Oreo in either dark chocolate or white chocolate until evenly coated, scrape the bottom of the cookie against the edge of the bowl to remove the extra coating, and transfer it to the parchment paper-lined tray.
- Now, with the opposite-colored chocolate (filled in the piping bag) make three rings on top of the cookie as shown in step 2. They don't have to be perfect!
- Now using a toothpick, slowly starting from the innermost circle (center), drag a line through each circle towards the edge of the cookie. Remember to clean the toothpick after every line. You will have to make 8 lines. This will make it look like a web on the cookie.
- Put them in the refrigerator to set (20-30 min).
- Repeat with the remaining Oreos.
- Serve or store in an air-tight container for later!
Notes
- You need to work fast here because the chocolate will start setting. So it’s better to work on one cookie at a time. If you can work really fast you can work with 4 Oreos at a time as I have done.
- If the chocolate has hardened in the piping bags, just pop them in the microwave and reheat for around 10-20 sec to re-melt them.
- The number of Chocolate dipped Oreo cookies you end up with will depend on how thick you dip the chocolate.
- Double or triple the recipe using the 1x2x3x tab in the printable recipe card.
- Store these in the refrigerator in an airtight container for up to 10-12 days.
Leave a Comment