
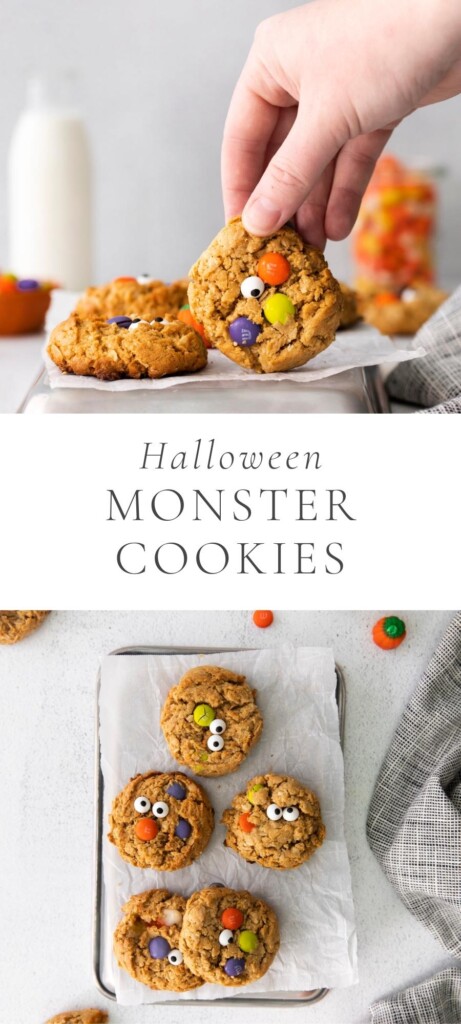

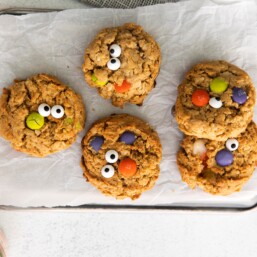
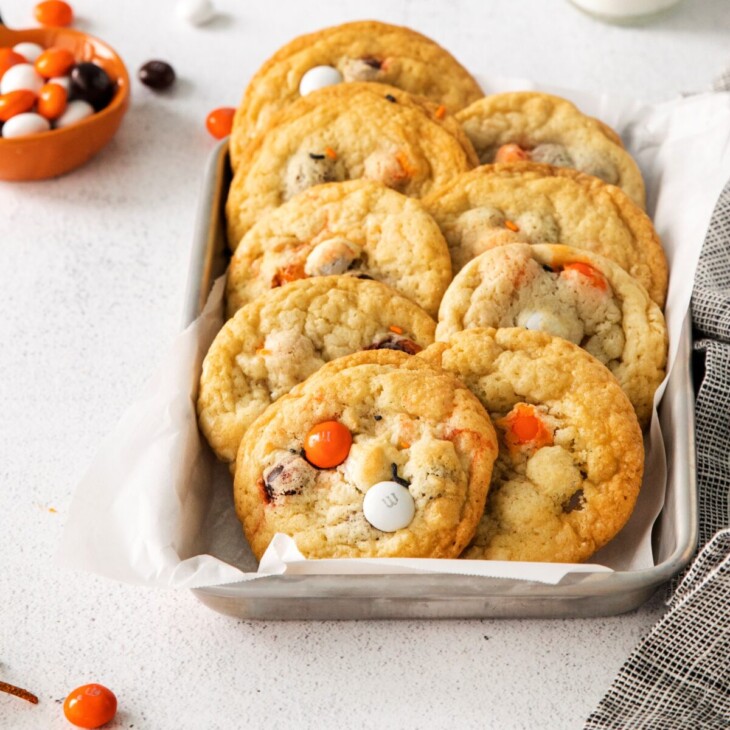
Bake up some Halloween Monster Cookies for a treat that is just as much fun to look at as it is to eat. With ingredients like peanut butter and old fashioned oats, these cookies are filling and taste delicious. ![]()
Halloween Monster Cookies are such a fabulous, flexible cookie – full of good flavor and good ingredients.
While they are certainly not a health food, they contain enough oats and peanut butter (with minimal butter) to be a great snack and dessert for your family.
Add the optional candy corns and candy eyes for cookies that your kids will race into the house to eat. ![]()
For additional cookies that contain nourishing oats and cereals, try my Cornflake Cookies and Oatmeal Cookie Sandwiches. You can add sprinkles to complement any holiday.
Halloween Monster Cookies are baked until golden brown, ensuring a base that won’t fall apart when little hands are holding it. The rest of the cookie is soft, chewy, and perfectly enjoyable.
With M&Ms in every bite, the sweet candy-coated chocolates aim to please. Top with candy corns and candy eyes for a fun and not-scary-at-all cookie monster.![]()
Table of Contents
About Halloween Monster Cookies
- Festive and Fun
- Great for a Snack
- Chewy and Hearty Oats
- Protein from Peanut Butter
Tools You Need
- Stand Mixer with Paddle Attachment and Mixing Bowl
- Measuring Cups and Spoons
- Rubber Spatula
- Baking Sheets
- Parchment Paper or Silpat Mats
What You Need to Make Halloween Monster Cookies
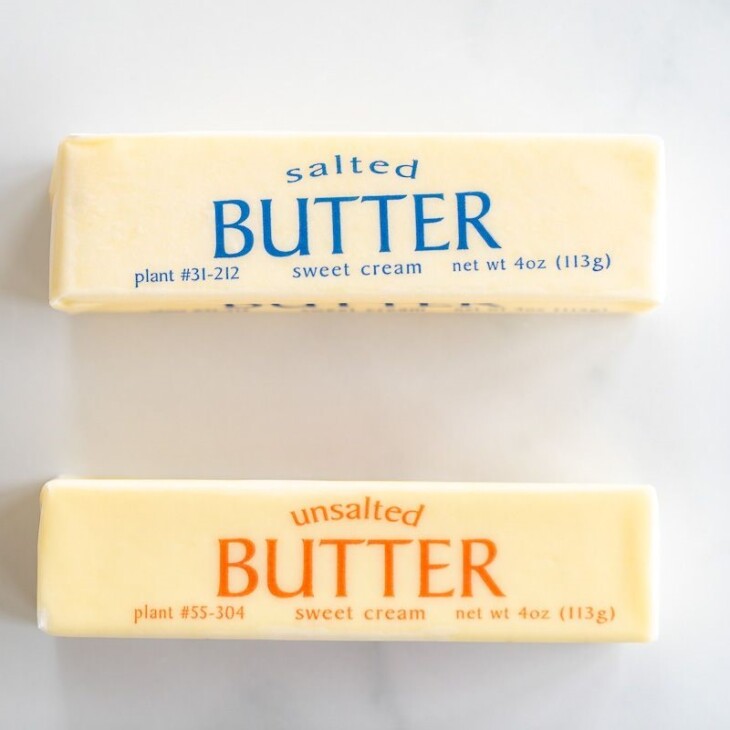
- Butter, at room temperature – Butter adds richness to our cookies and helps them keep their shape in the oven.
- Light Brown Sugar – Brown sugar adds delicious depth of flavor to the cookies, but feel free to use granulated sugar if you prefer.
- Egg – Egg binds the cookies together so they don’t fall apart!
- Peanut Butter – Peanut butter also binds the cookies together—plus it adds peanut butter flavor to the cookies.
- Pure Vanilla Extract – Vanilla enhances the sweetness of the cookies.
- Old Fashioned Oats – Create a chewy and hearty texture in the cookies.
- All Purpose Flour – Works with oats to add substance and form to our cookies.
- Baking Soda – A leavening agent that works with the other ingredients to create a little bit of rise. Read about baking soda here.
- Halloween M&Ms – Perfect for seasonal baking, but regular colored M&Ms will work any time of year.
- Candy Corn – A fun, mellow candy that adds a smooth sweet surprise.
- Candy Eyes – For garnish, to make the cookies look like monsters!
Variations
- Use quick oats instead of old fashioned oats for a smoother texture.
- Replace the light brown sugar with dark brown for more molasses flavor.
- Use chunky peanut butter for more crunch inside the cookie.
- Make the cookies monster sized by using 2-3 tablespoons of dough in each cookie and adding 1 minute to the bake time.
Overview | How to Make Halloween Monster Cookies
The full printable recipe is below
- Use a paddle attachment in a large mixing bowl to combine butter and brown sugar until light and fluffy.
- Add the egg and peanut butter. Mix until combined.
- Next, add the oats and flour and mix until combined.
- Fold M&Ms into dough with a rubber spatula.
- Scoop 1″ balls and place on baking sheets.
- Bake cookies for 15 minutes or until edges are set.
- Remove from oven and press candy corns and candy eyes onto cookies.
- Allow cookies to cool on pan before removing.
How to Store
- Room Temperature – Place in an airtight container and store for up to 5 days, but I’m sure they’ll be eaten before then.
- Freezer – If you have any to save, the freezer is the best place for them. Once they’ve cooled, place them in an airtight, freezer safe container and store for up to 4 months.
Frequently Asked Questions
Old fashioned rolled oats maintain their structure when baked, so the cookies will be chewy. Instant oats can also work, but because they are thinner and smaller, they will become very soft, almost absorbing into the flour. Do not use steel cut oats because they won’t cook thoroughly.
Ovens do cook differently from each other. So if your cookies are coming out dry, then reduce cook time by a couple of minutes. You can also pull them out before they’re all the way done and allow them to finish cooking on the pan while they cool.
Another trick for keeping cookies soft is to place a piece of bread in the storage container with them. Don’t let the bread touch the cookies. The cookies will absorb the moisture from the bread and maintain their softness.
More Halloween Inspiration
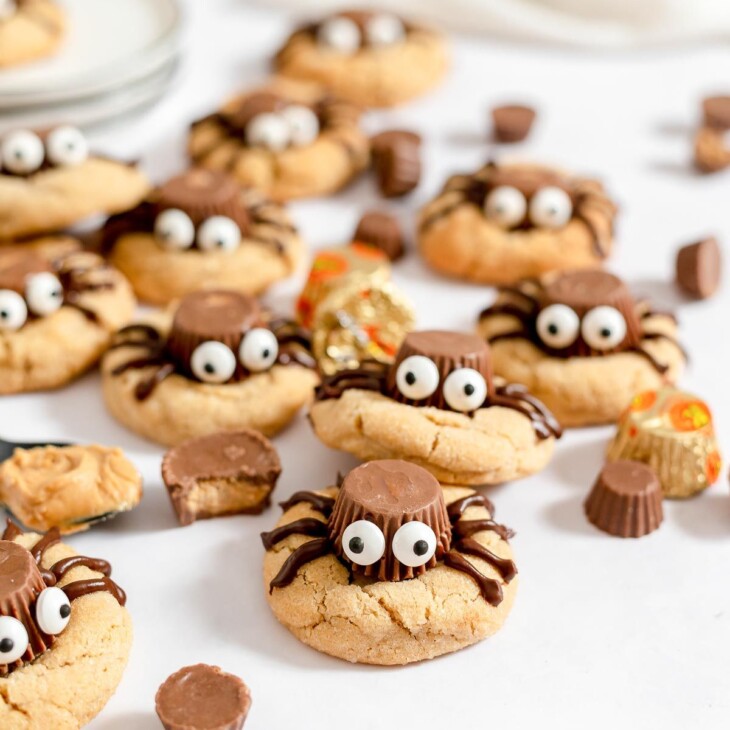
Halloween Peanut Butter Spider Cookies
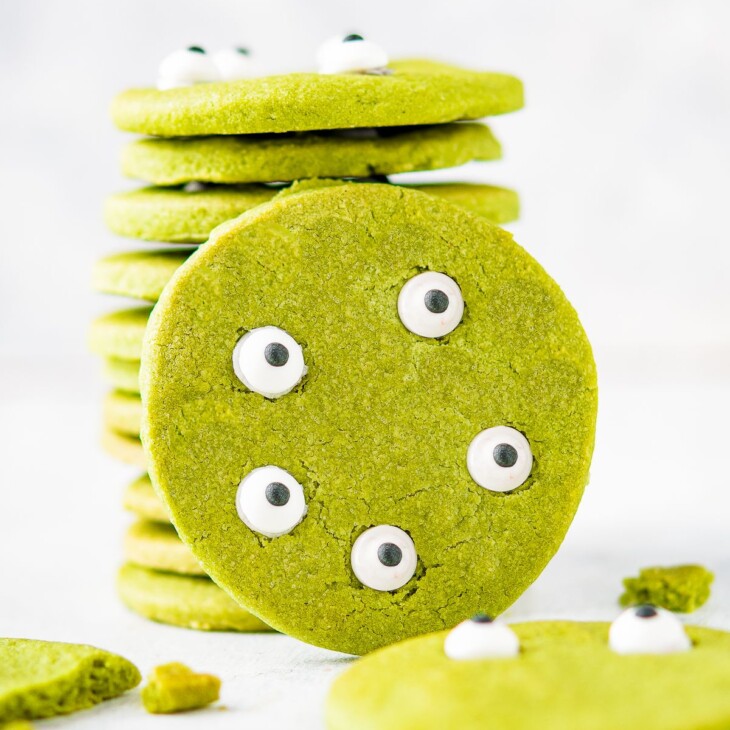
Halloween Matcha Cookies
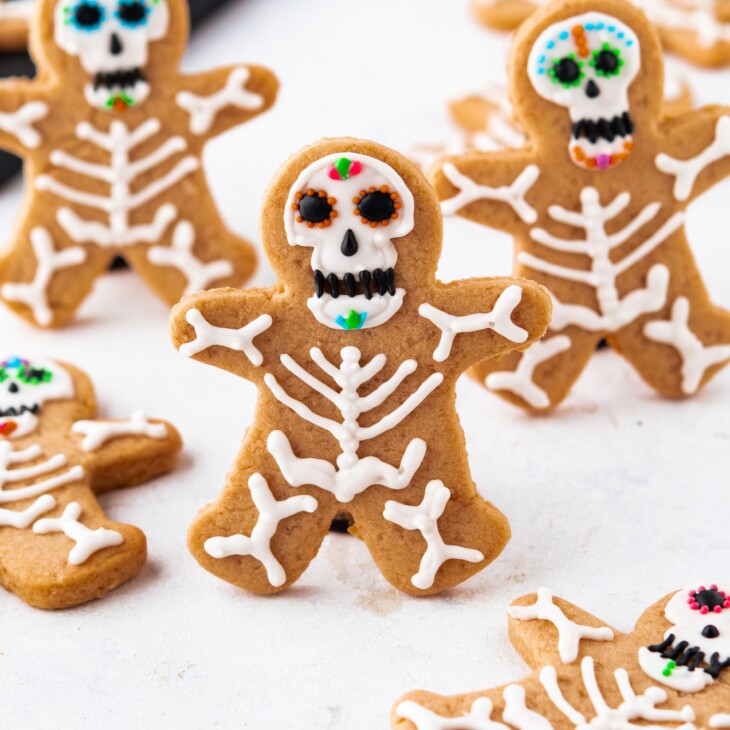
Halloween Skeleton Cookies
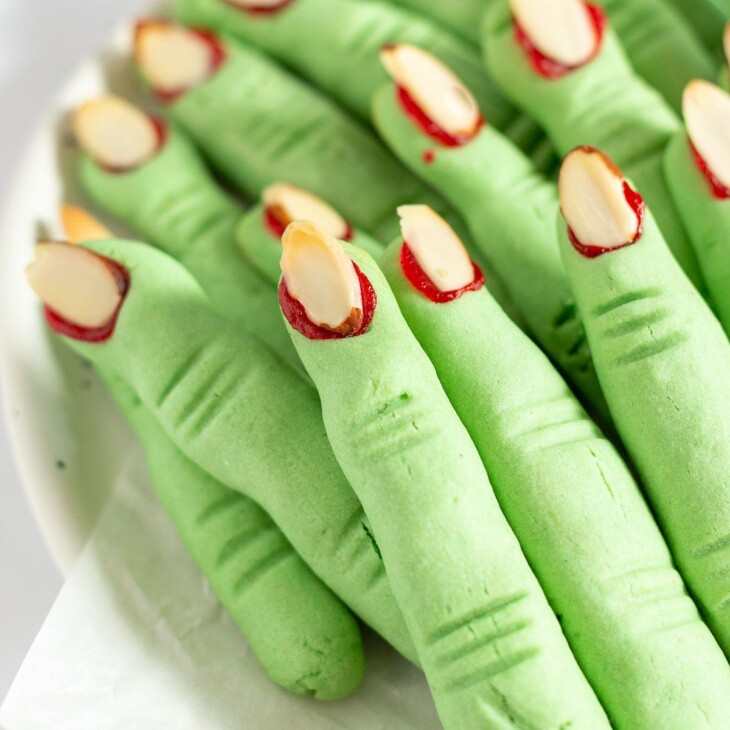
Witch Finger Cookies
Halloween Monster Cookies
Ingredients
Ingredients
- 4 tablespoons (¼ cup) butter, at room temperature
- 1 cup light brown sugar
- 1 large egg
- 1 cup creamy peanut butter
- 1 teaspoon pure vanilla extract
- 2 cups old fashioned oats
- ½ cup all purpose flour
- 1 teaspoon baking soda
- ½ cup Halloween M&Ms
- ¼ cup candy corn
- candy eyes, for garnish
Instructions
Instructions
- Preheat the oven to 350F. Line a large baking sheet with parchment paper.
- In the bowl of a stand mixer fitted with the paddle attachment, combine the butter and brown sugar until light and fluffy.
- Add the egg and peanut butter and mix to combine.
- Next add the oats and flour and mix to combine again.
- Add the M&Ms and fold them into the cookie dough with a rubber spatula.
- Scoop 1” balls onto the prepared baking sheet, making sure to place them at least 2” apart.
- Bake the cookies for 15 minutes, or just until the edges are set. Then, remove them from the pan and allow them to cool to room temperature on the pan. If using candy eyes and candy corn, press them on the cookies while they’re still warm.
- Enjoy immediately. Store any leftover cookies in an airtight container at room temperature for up to five days.
Notes
Variations
- Use quick oats instead of old fashioned oats for a smoother texture.
- Replace the light brown sugar with dark brown for more molasses flavor.
- Use chunky peanut butter for more crunch inside the cookie.
- Make the cookies monster sized by using 2-3 tablespoons of dough in each cookie and adding 1 minute to the bake time.
How to Store
- Room Temperature – Place in an airtight container and store for up to 5 days, but I’m sure they’ll be eaten before then.
- Freezer – If you have any to save, the freezer is the best place for them. Once they’ve cooled, place them in an airtight, freezer safe container and store for up to 4 months.
Leave a Comment