
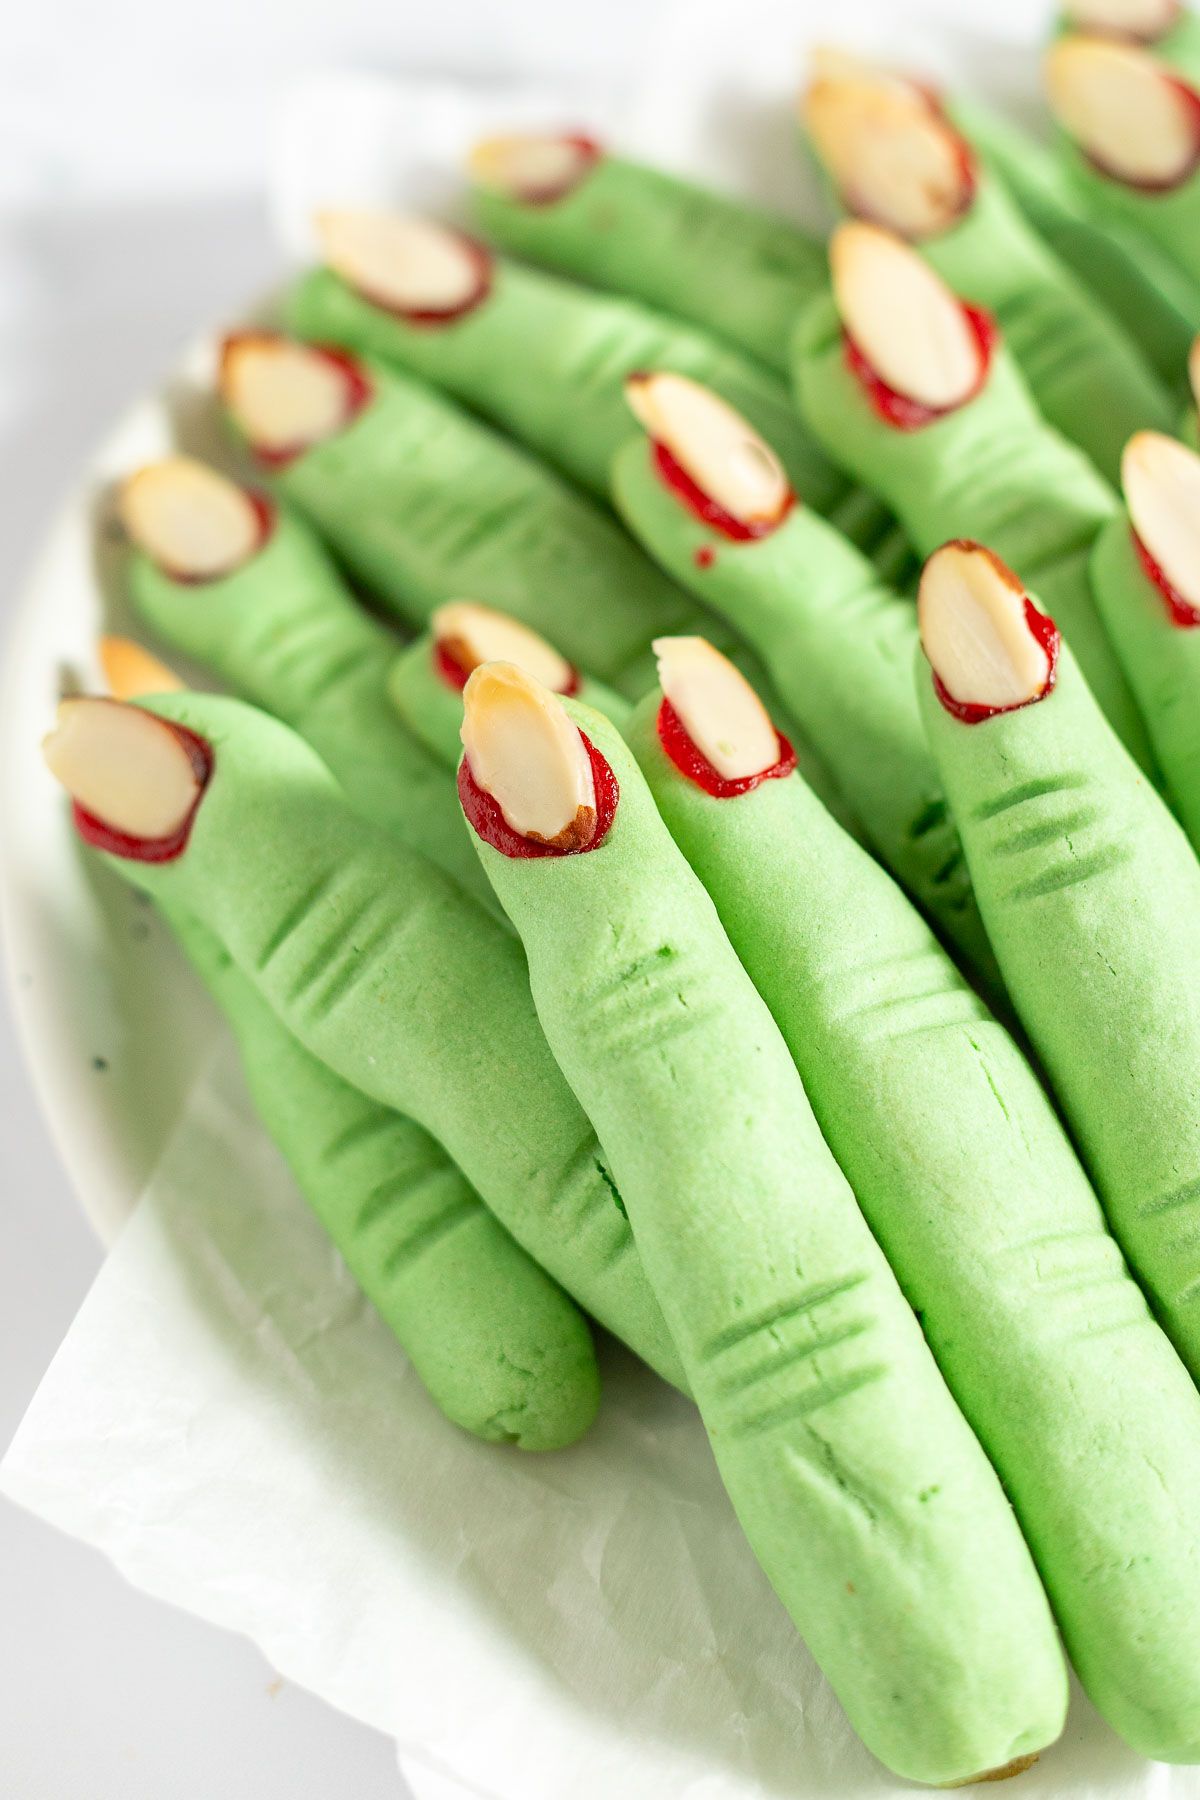
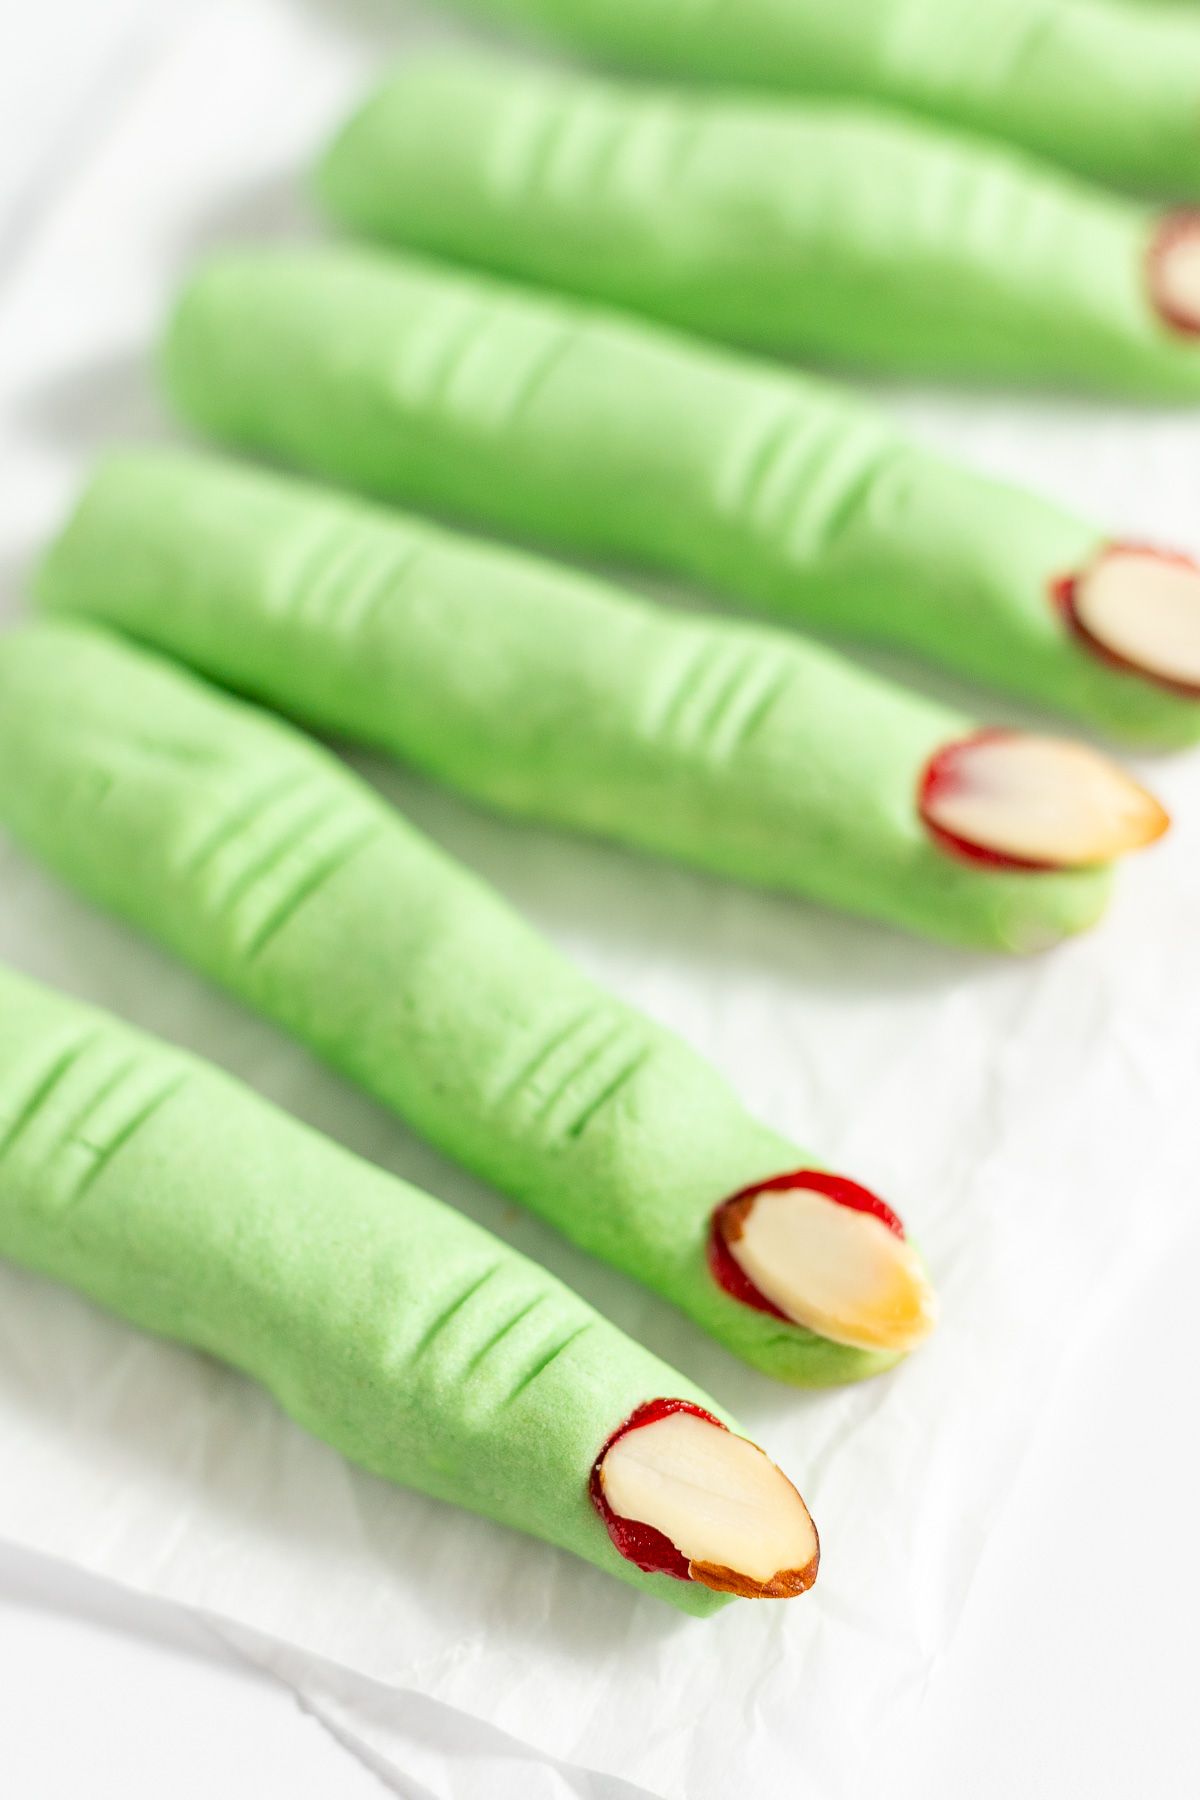
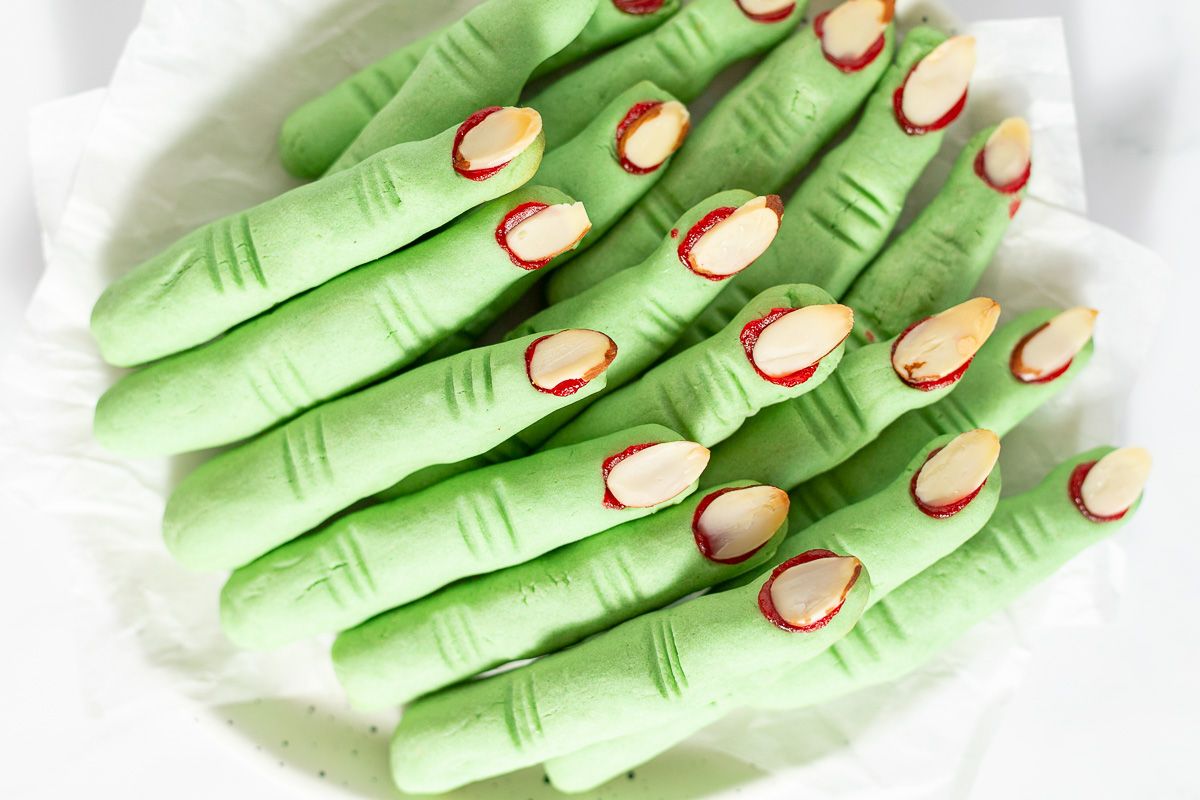
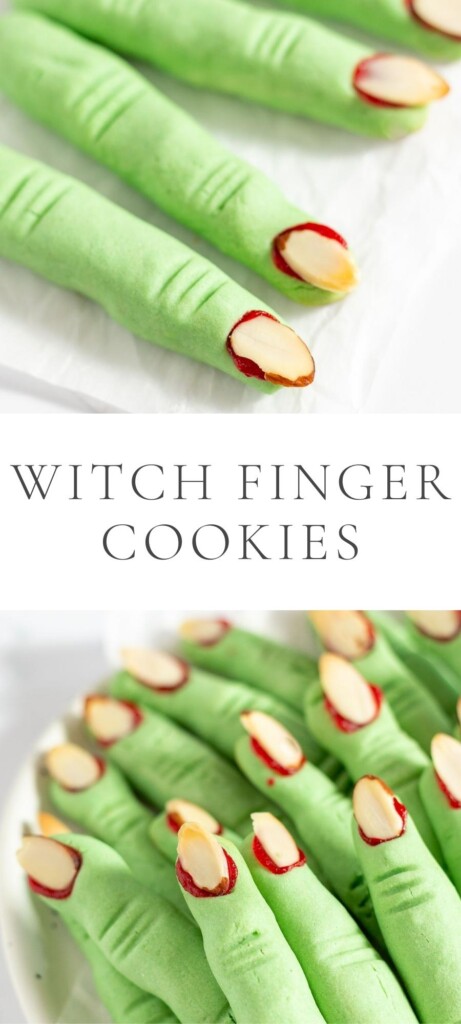
Add a little bit of spooky fun to your Halloween parties this year with these eerie witch finger cookies!
They are a joy to make, and such a fabulous (and frightening) addition to all your ghostly gatherings.
With all the flavor of a classic sugar cookie, these have the perfect crunch – and who doesn’t love a fun homemade Halloween treat?
Monsters and Spiders and Skeletons, oh my. Our Halloween cookie collection grows bigger and better every week, and we adore sharing them with you!
Now you can add these scary little witch finger cookies to your fall cookie line up! Aren’t you so excited for this fabulous little cookie? I love having a little fun with this spooky holiday, and these crunchy little fingers are sure to please the kids and adults alike.
They will add such an interesting shape and color to your Halloween cookie platters and dessert displays. Or, surprise your friends and neighbors with an array of fun Halloween cookies this year – we’ve got so many great ideas.
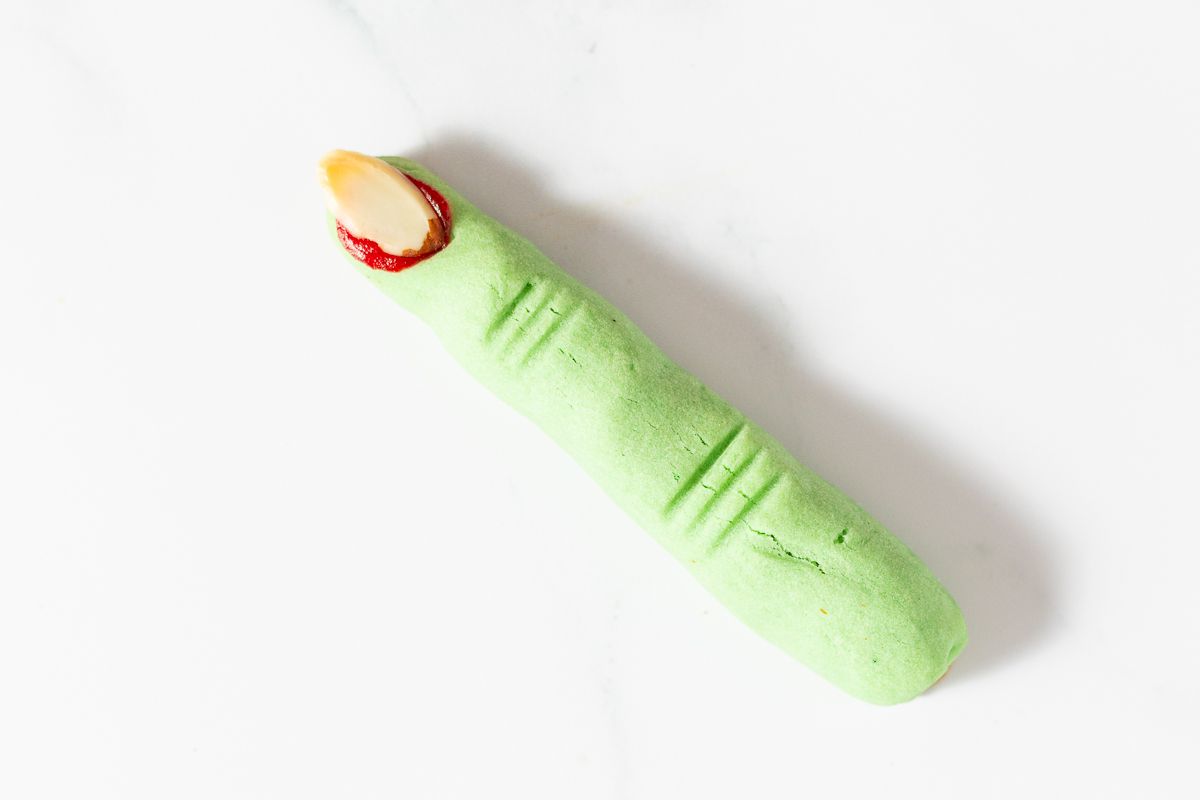
Why You’ll Love these Witch Finger Cookies
- Easy to Make
- Simple Ingredients
- Great Pop of Color
- Customize in so Many Ways!
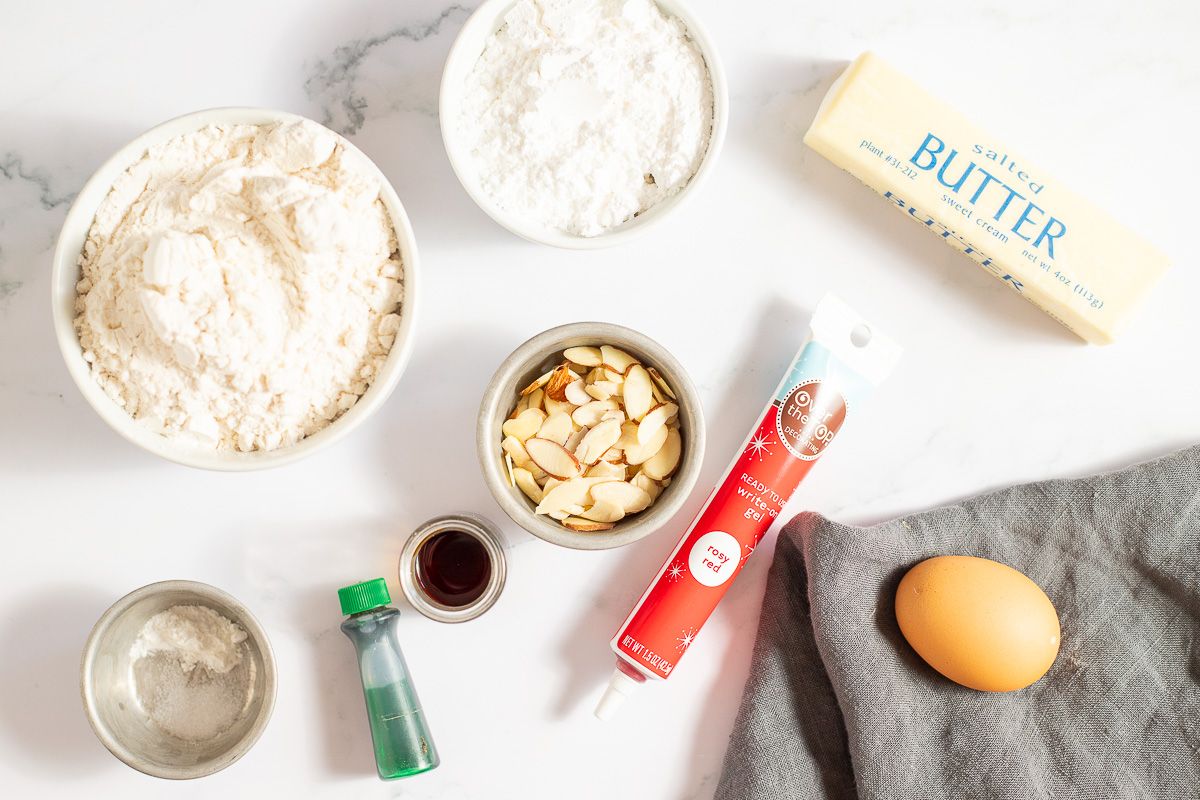
Ingredients and Substitutions
- Butter – Room temperature, salted or unsalted works well
- Powdered Sugar – Also called confectioner’s sugar. Learn How to Make Powdered Sugar here.
- Egg – Size large is standard for baking.
- Vanilla Extract – If you can, use genuine vanilla, not the imitation.
- Almond extract – (optional)
- Flour – All-purpose flour works best here.
- Salt – To balance all the sweet. If you use salted butter in this recipe, watch the additional salt so you don’t make them too salty!
- Baking powder – For rise
- Green food coloring – To turn these a fabulous green color. Of course you can use any color you’d like!
- Sliced almonds – for the fingernail!
- Red piping gel – for a touch of “blood” under the fingernail.
Variations
- Use any color of food coloring you’d like, to create monster fingers, etc!
Helpful Tools
- Mixer – Stand mixer or hand mixer.
- Cookie Sheet or Flat Baking Sheet – A traditional cookie sheet has no sides, allowing you to slide cookies off without ruining their shape after baking. A flat baking sheet works too.
- Parchment Paper – Use parchment or a silpat for easy clean-up.
- Cooling Rack – While not required, it’s nice to remove your cookies to a cooling rack so air can circulate and they won’t continue to cook on the sheet!
How to Make these Witch Finger Cookies
- Preheat oven as noted.
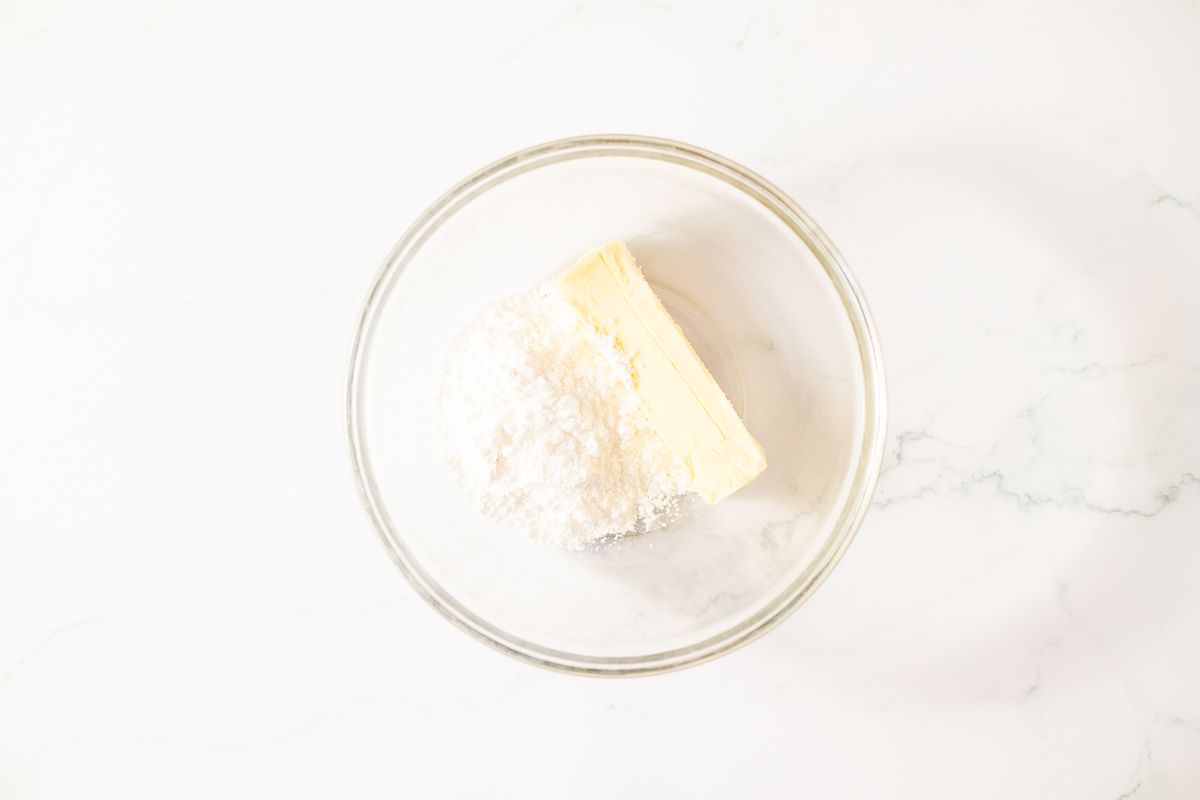
- Combine butter and powdered sugar until smooth.

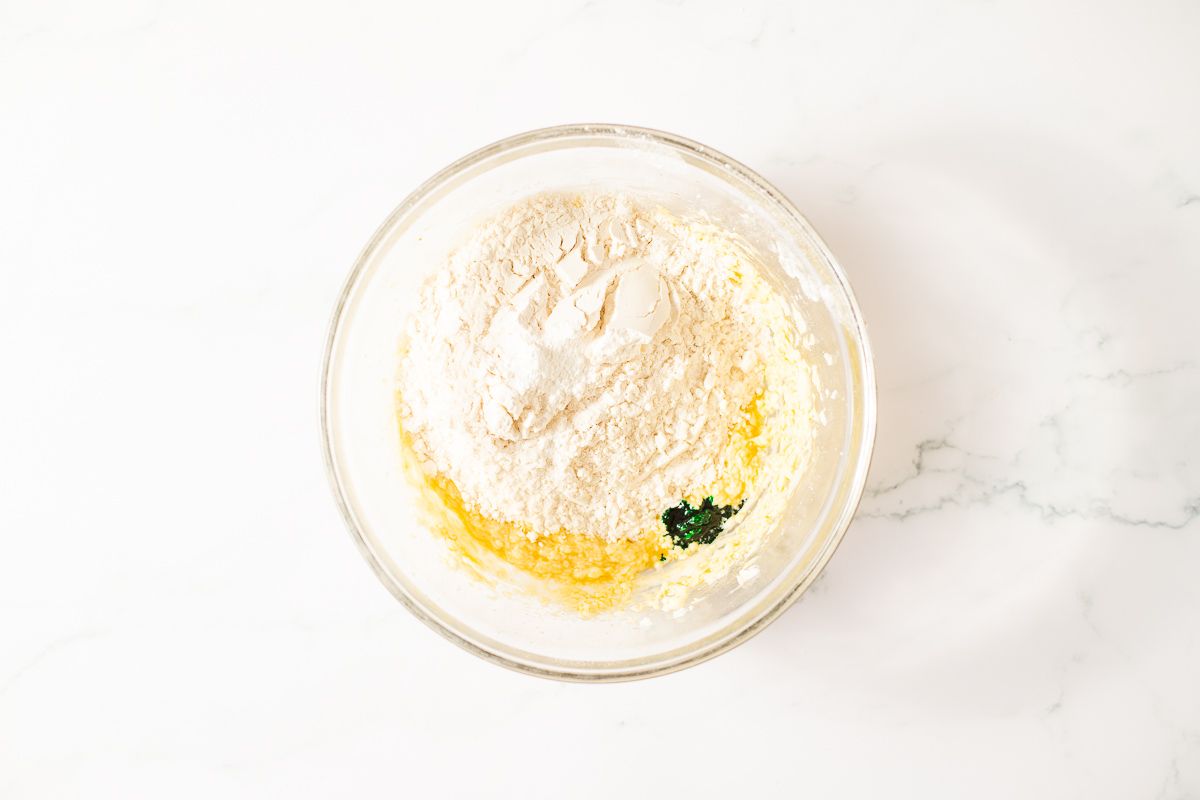
- Add wet ingredients and combine well.

- Mix dry ingredients together in a separate bowl, and add to wet ingredients in your stand mixer.
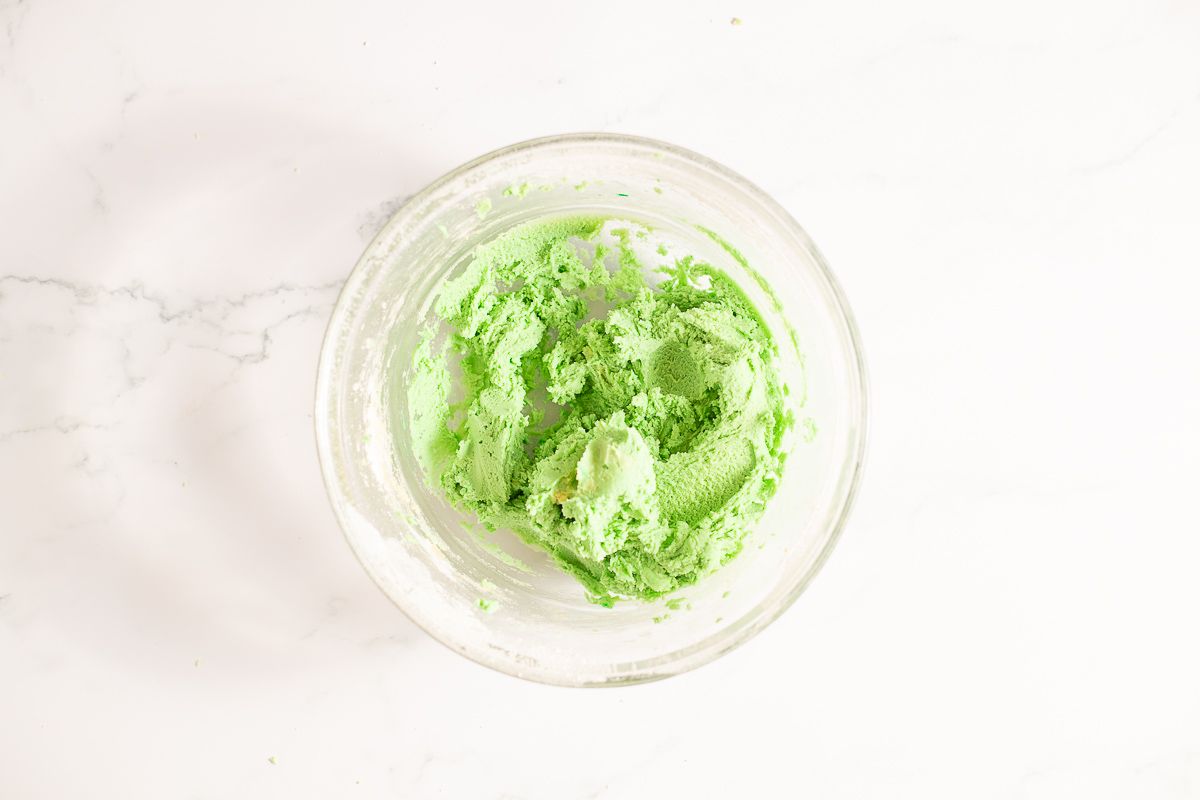
- Add food coloring and combine.


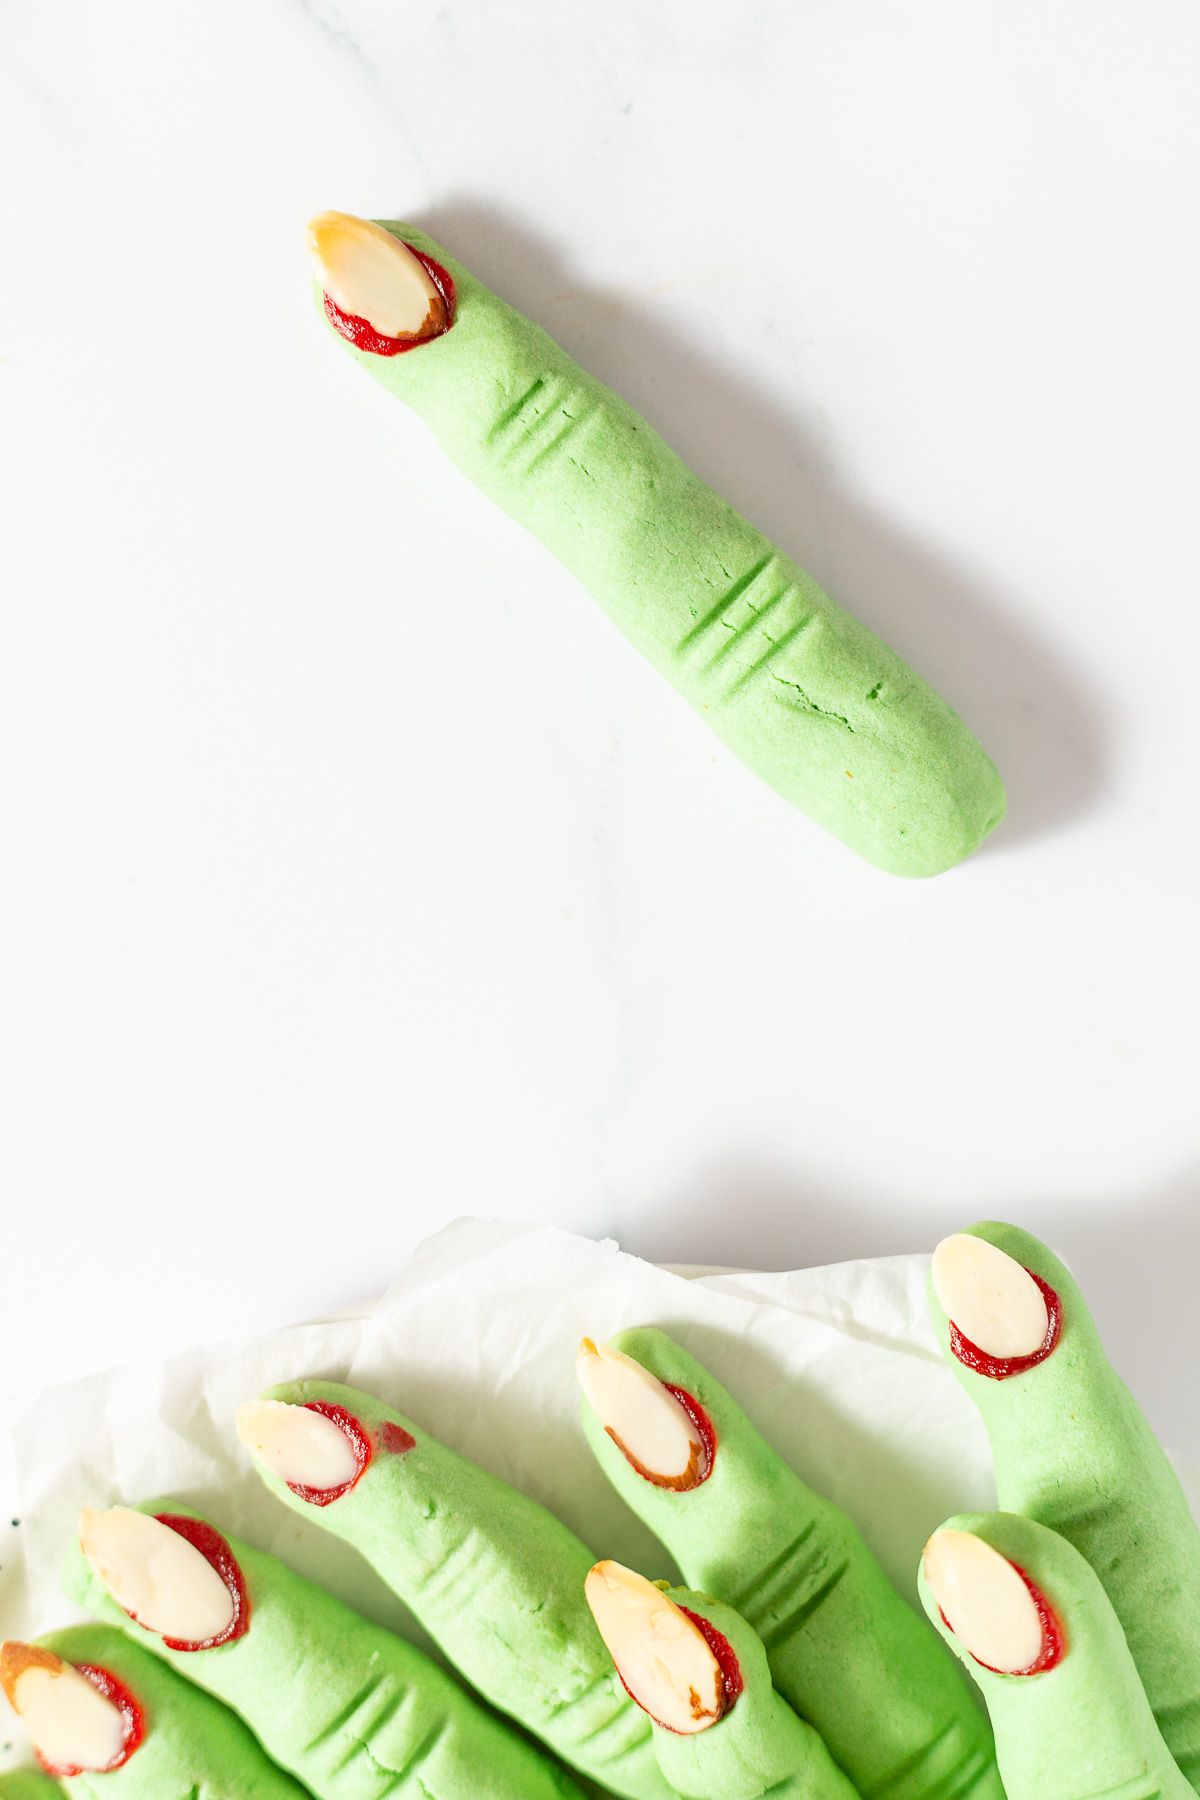
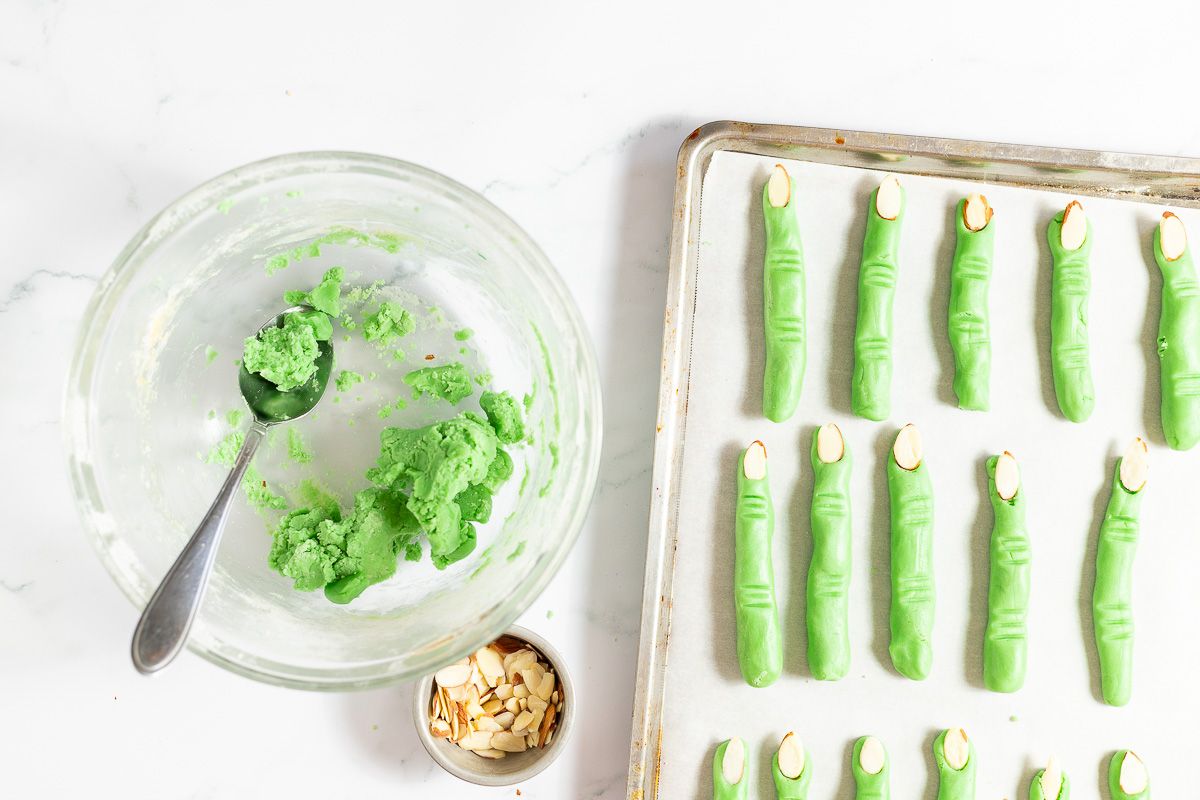
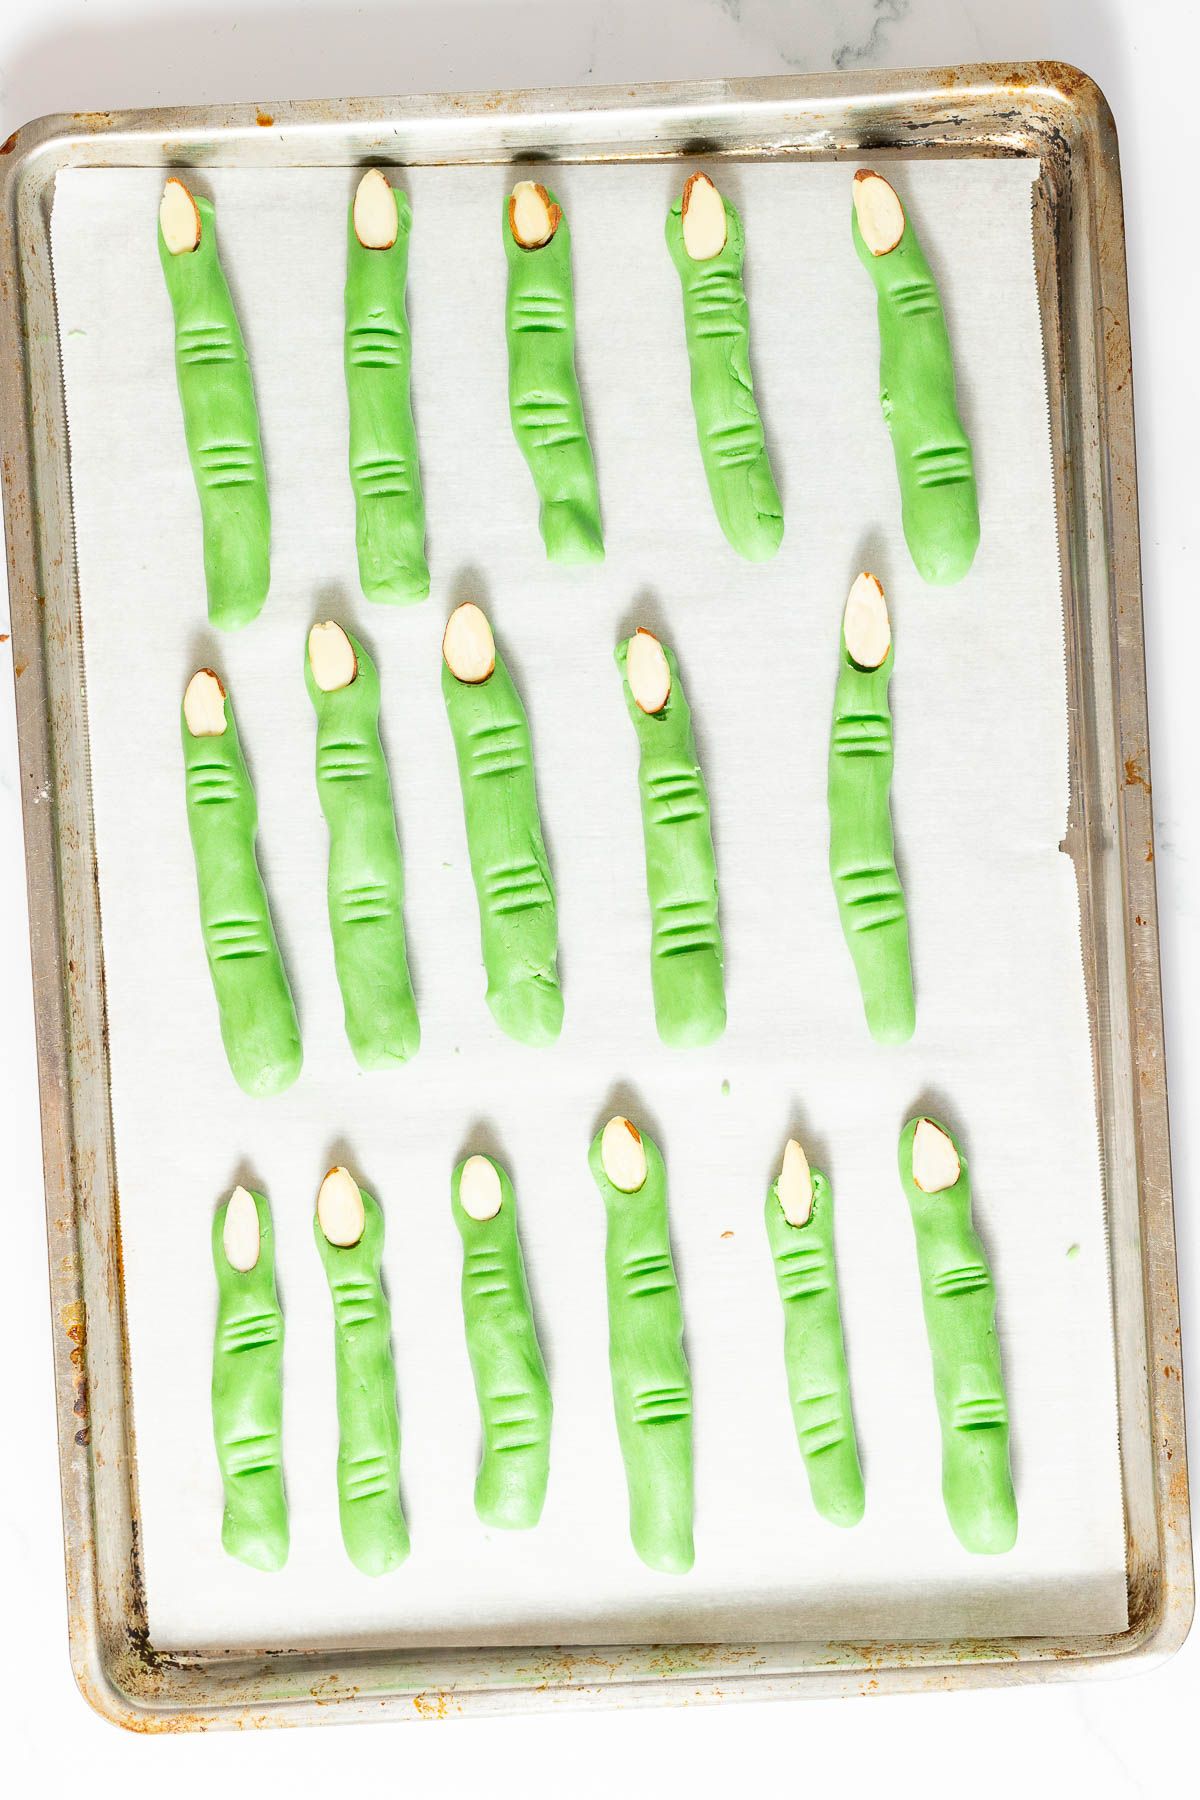
- Separate dough into balls, rolling into finger-sized logs, tapering slightly at one end.

- Press lines into cookies to create “knuckles” as directed.
- Press an almond slice for the fingernail.

- Bake as directed, removing before cookies begin to brown.
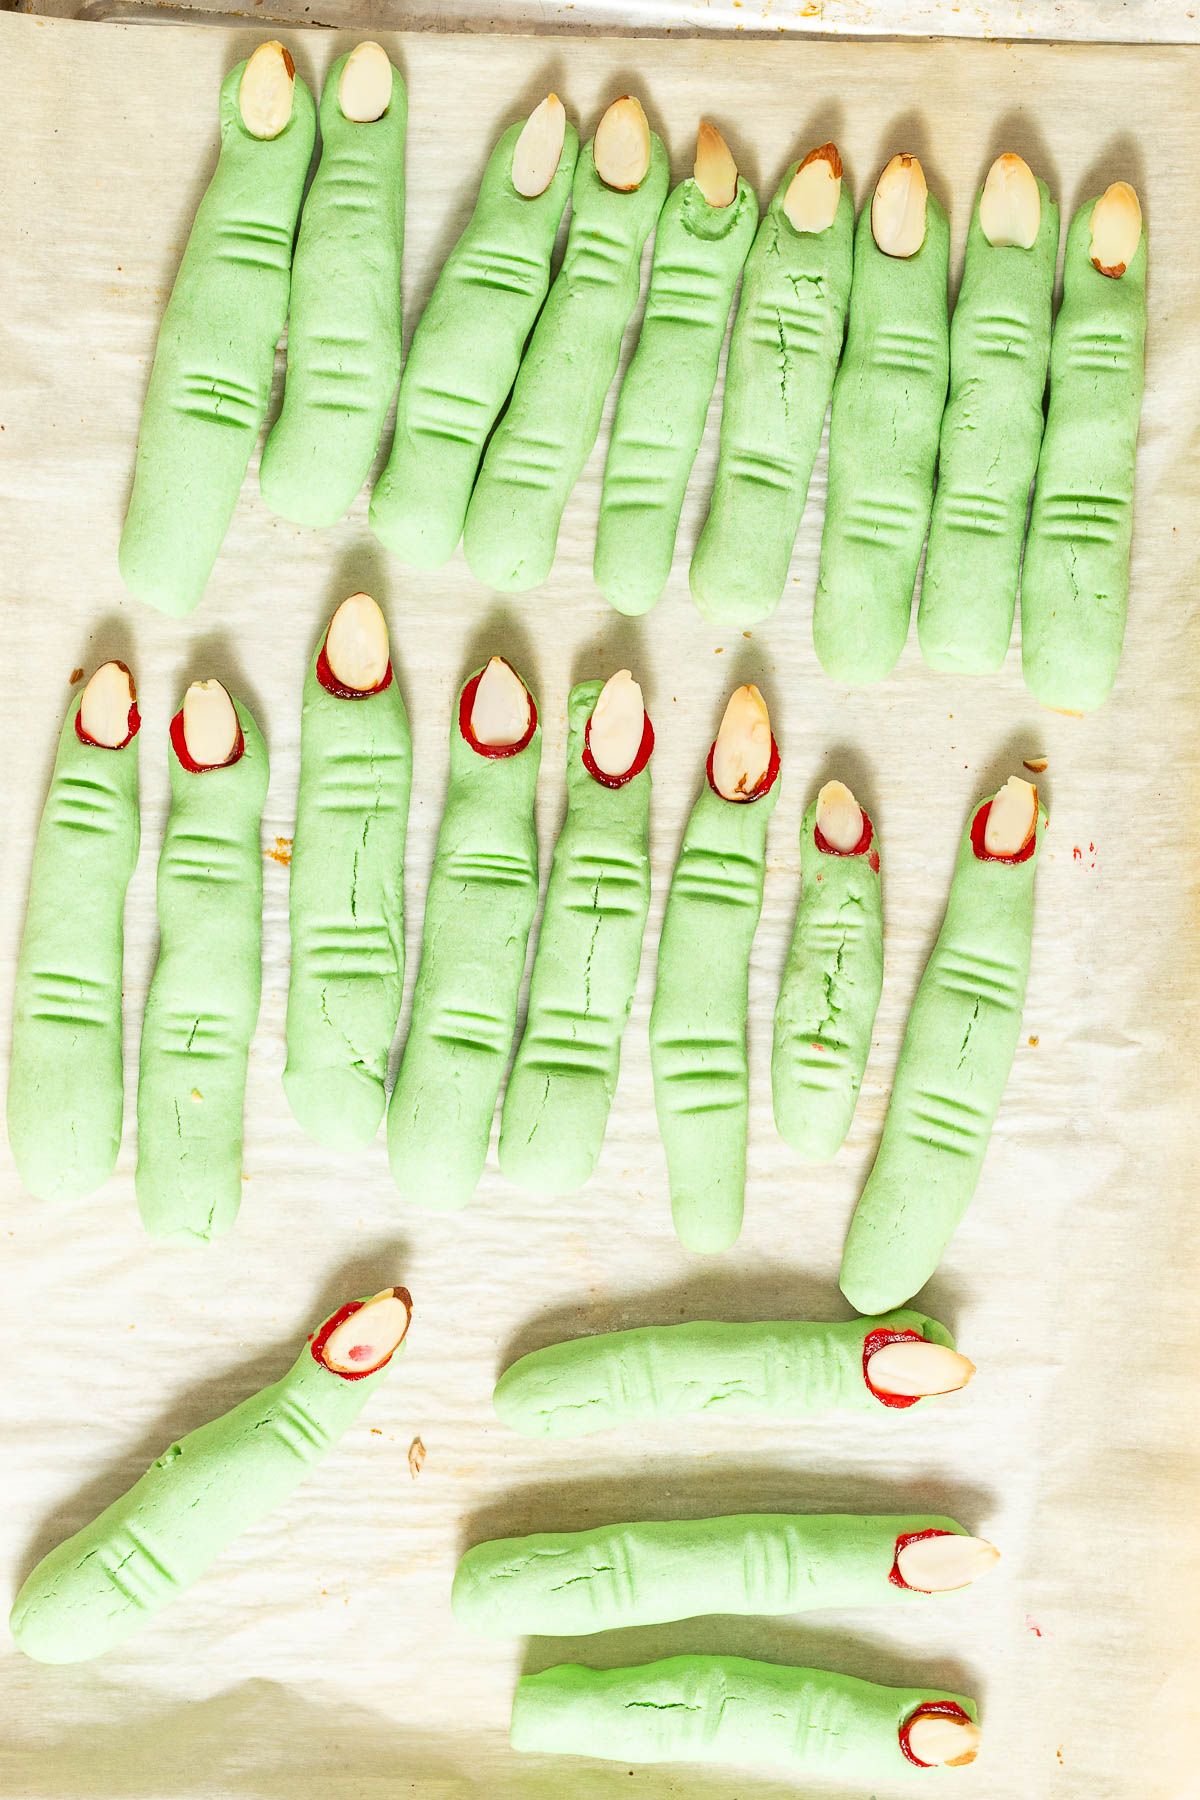
- Remove almonds, add red gel coloring in the “nail bed” and replace almonds in the indent.
Tips
- Parchment paper works well, but a silpat mat works well too.
- For the almond fingernails – We found it easiest to add the almond “nail” before baking. Even though you’re just going to take it off afterward to add a little red gel, it creates a nice, flat nail bed.
- The number of witch finger cookies you end up with will depend on how thick you roll the fingers and how you shape them.
- Double or triple the recipe using the 1x2x3x tab in the printable recipe card.
How to Store
- Room Temperature – Store in a sealed container for up to 1-2 days.
- Refrigerate – Store in an airtight container for up to 4-5 days.
- Freeze – You can freeze these cookies for up to two months in an airtight container or sealed Ziploc freezer bag. Separate layers with parchment paper.
Witch Finger Cookies
Ingredients
- ½ cup butter, unsalted, room temperature
- ½ cup powdered sugar
- 1 egg, size large
- ½ teaspoon vanilla extract
- ½ teaspoon almond extract, optional
- 1 ⅔ cups all purpose flour
- ¼ teaspoon salt
- ¼ teaspoon baking powder
- Green food coloring, 7-10 drops
- Sliced almonds
- Red piping gel
Instructions
- Preheat oven to 350ºF. Prepare cookie sheets with parchment paper or silpat.
- Combine butter and powdered sugar until smooth.
- Add egg, vanilla, and almond extracts, and combine well.
- Mix flour, salt, and baking powder together in a separate bowl, and gradually add to butter and sugar mixture.
- Add 7-10 drops of food coloring, mixing to combine.
- Separate dough into balls, about a tablespoon each, and roll into finger-sized logs, tapering slightly at one end.
- Using a toothpick, press lines into cookies to create “knuckles”.
- Press an almond slice into the tapered end of cookie.
- Bake for 10-12 minutes until set, removing before cookies begin to brown.
- When cookies have cooled, lift almond fingernail, squeeze red piping gel into “nail bed”, then replace almond “nail” to squeeze gel up around it.
Video
Notes
- Parchment paper works well, but a silpat mat works well too.
- For the almond fingernails – We found it easiest to add the almond “nail” before baking. Even though you’re just going to take it off afterward to add a little red gel, it creates a nice, flat nail bed.
- The number of witch finger cookies you end up with will depend on how thick you roll the fingers and how you shape them.
- Double or triple the recipe using the 1x2x3x tab in the printable recipe card.




Leave a Comment