
Crown your favorite sugar cookie with this delicious royal icing made from simple baking ingredients. It has a stunning, glossy finish that makes cookies look like jewels – fancy enough to be served at a royal event, but easy enough to whip up for your own little kingdom.

Royal icing is the perfect finishing touch for cookies that are firm enough to support this dense icing, like sugar and gingerbread cookies. It can be colored to coordinate with any festivity or occasion.
The icing is delicate enough to be able to pipe precise and beautiful designs. This icing remains soft, but sets up firm to the touch, so your cookies are perfect for gifting or taking to a party.
There are different versions of royal icing out there, but this is an easy one that comes together quickly with basic ingredients. This recipe uses milk instead of water, which gives it more flavor and just a tad of creaminess.
The corn syrup keeps the icing soft – unlike the varieties that get crunchy – and gives it a glossy sheen – so pretty! Unlike other recipes, this recipe doesn’t call for egg whites or meringue powder, which makes it even easier.
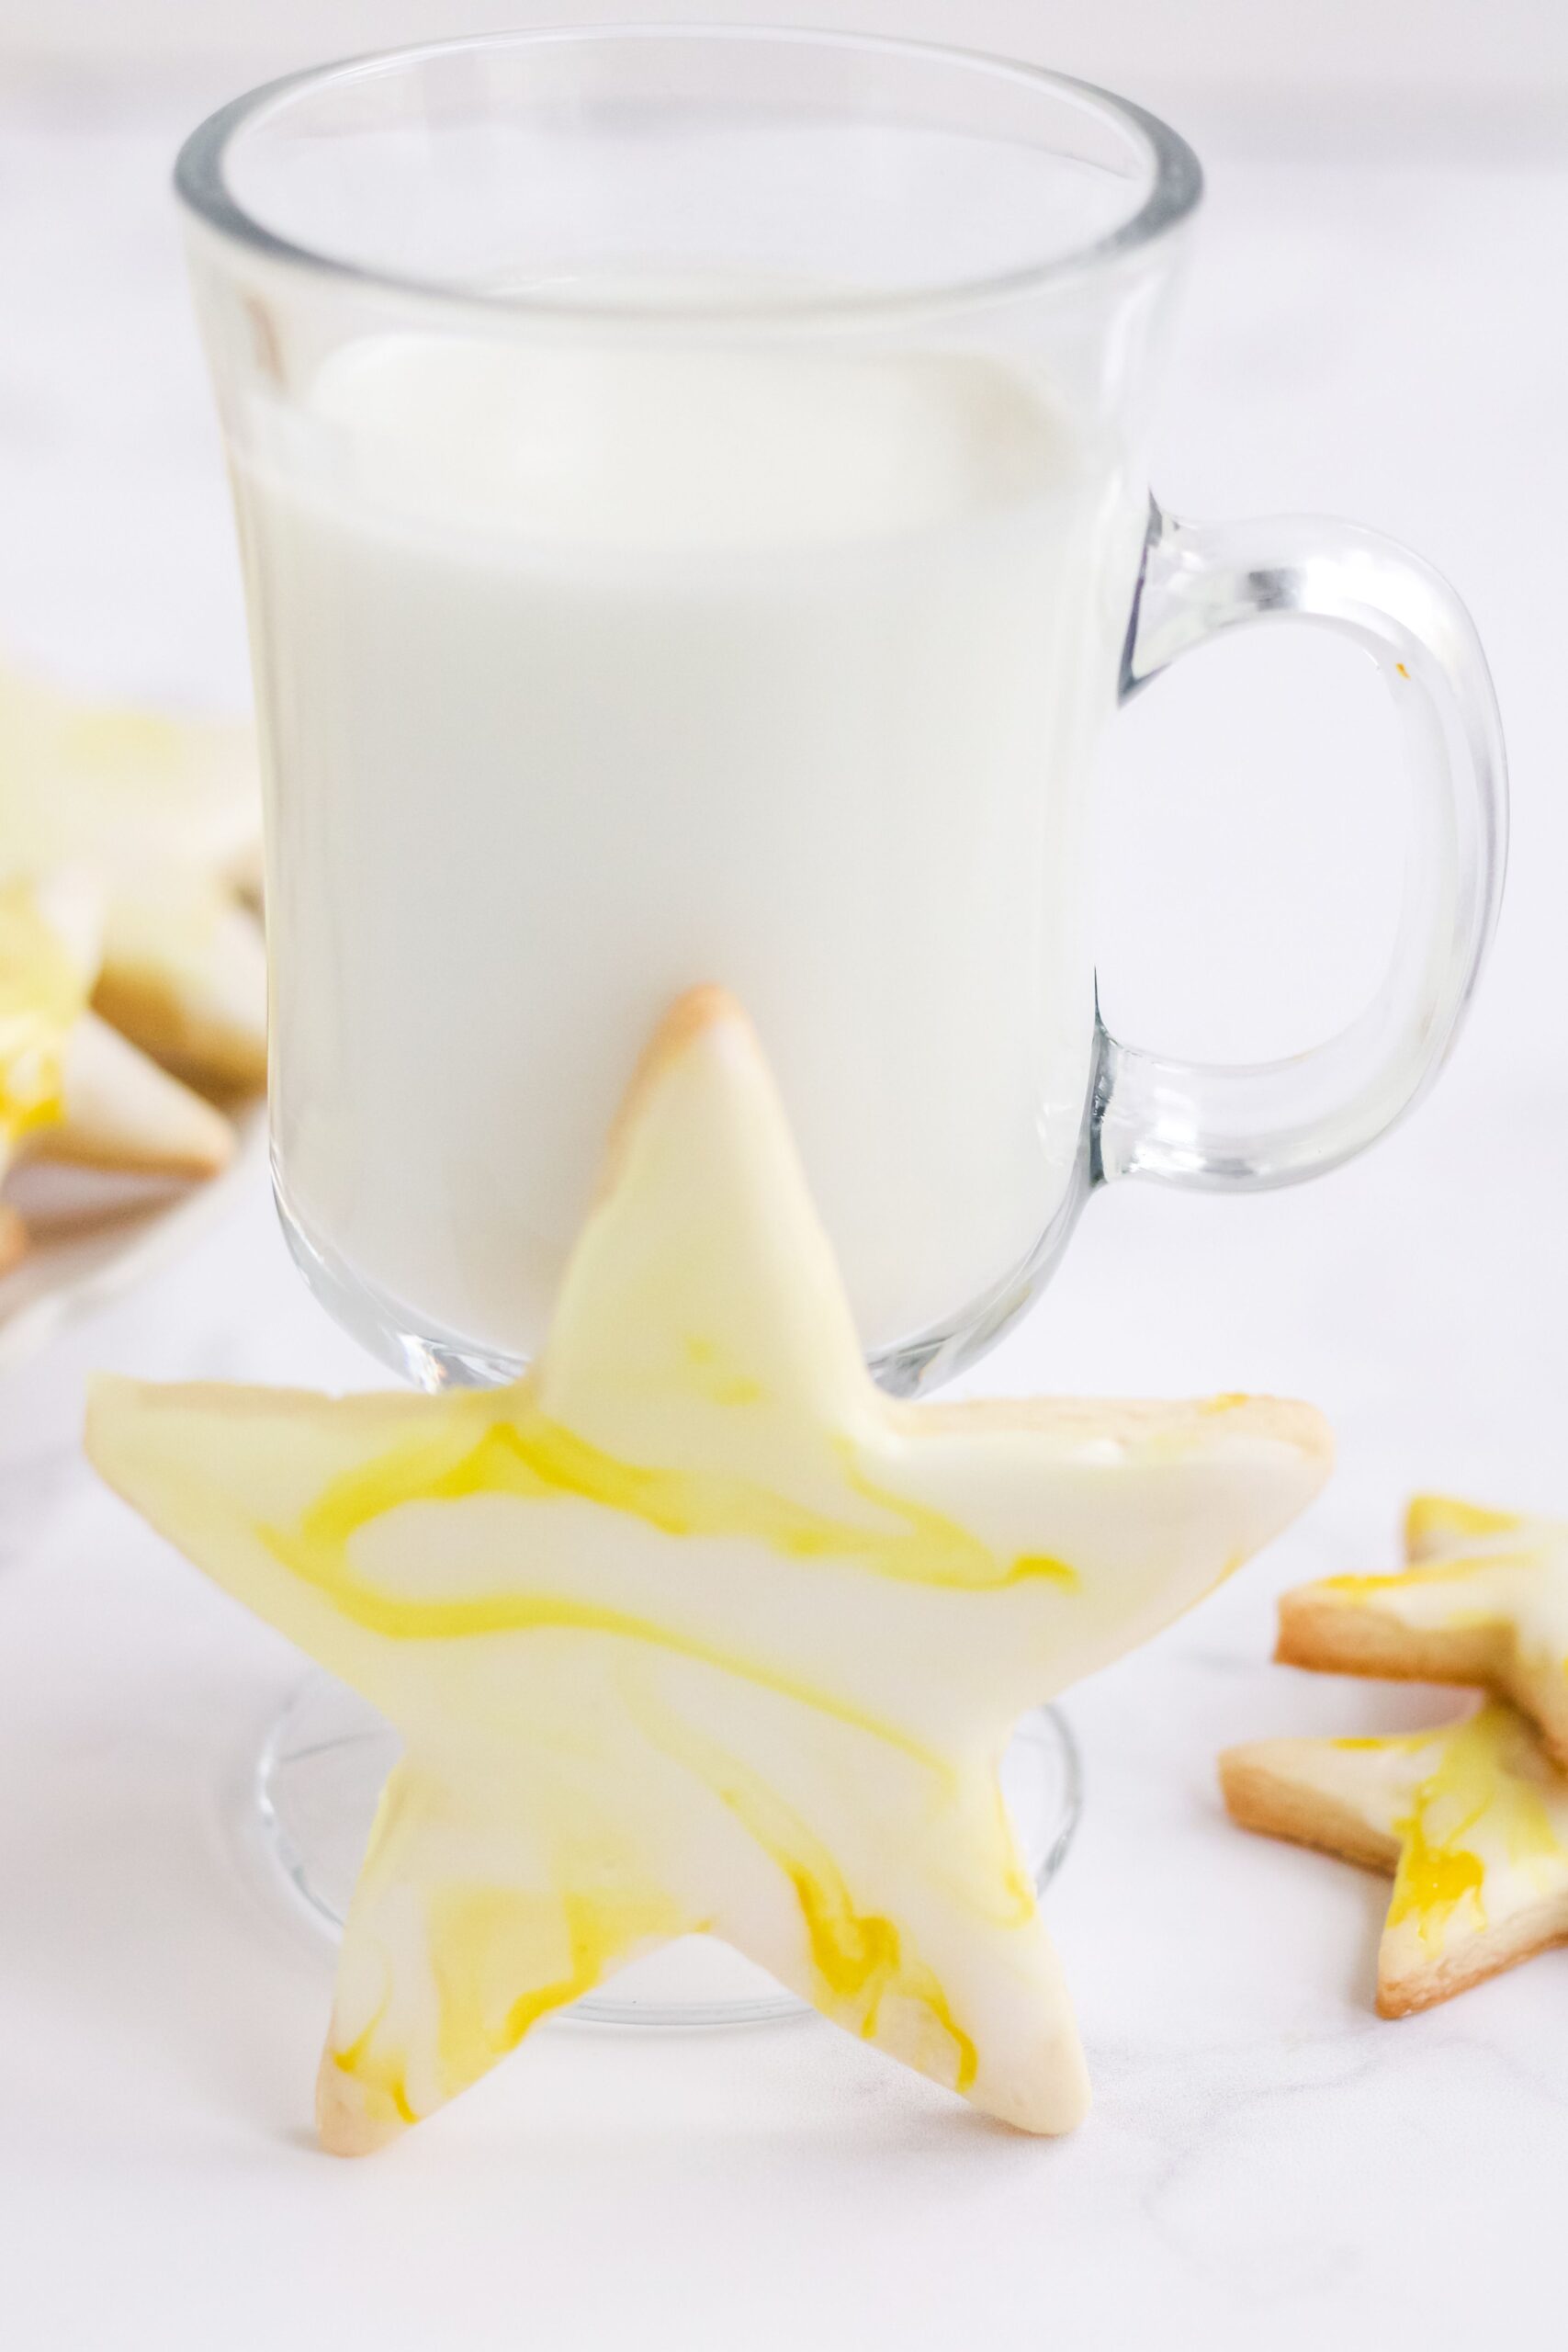
If you’re looking for cookies that are easy to customize for any occasion – from casual to elegant – you might also try Funfetti Cookies, Meringues, and Cutout Sugar Cookies with Marbled Icing.
This royal icing is so easy to work with, you’ll have it be your go-to icing for decorating. Its consistency is easily adjusted for outlining and filling in. The simple flavors of the icing let the flavor of the cookie shine, but the icing gets to be the showstopper when it comes to how the cookie looks. This icing will make you look like a pastry chef!

Table of Contents
About Royal Icing
- Needs Basic Baking Ingredients
- Easy and Quick
- Glossy and Smooth
- Customizable
Tools You Need
- Mixing Bowl
- Mixer or Whisk
- Measuring Cups and Spoons
What You Need to Make Royal Icing
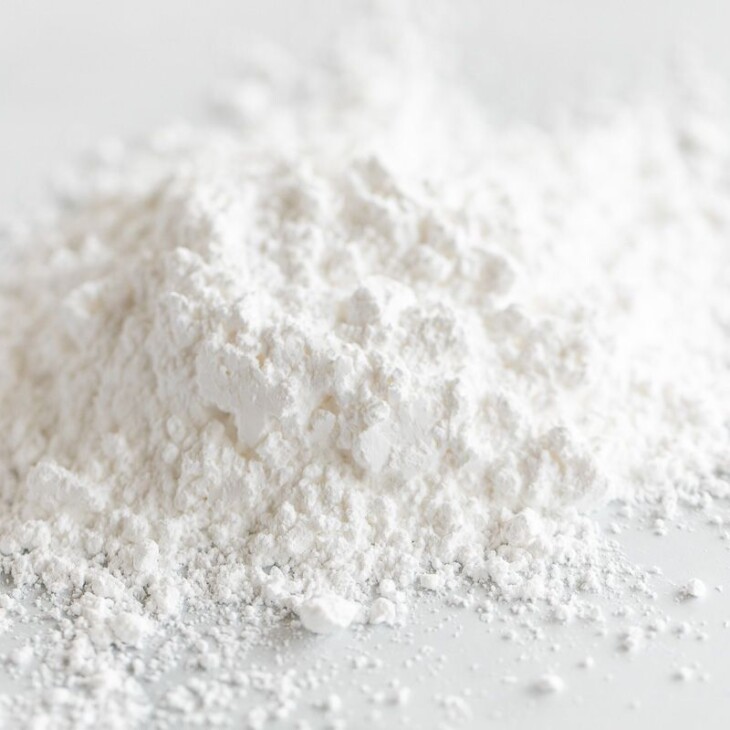
- Powdered Sugar – the main ingredient
- Milk – used for thinning and to make the icing richer than just using water
- Corn Syrup – to keep the icing soft underneath the shiny, firm outer layer
- Food Coloring, optional

How to Use
- Dipping – Make icing the consistency of glue. Put in shallow bowl. Dip the flat side of your cookie into icing. Let excess icing drip off. Place cookie on cooling rack or wax paper to set up.
- Piping and Flooding – Divide icing into 2 bowls. Make one a little thicker with powdered sugar. Put icing into pastry bags. Pipe an outline of the thicker icing around the edges of the cookie. Use the thinner icing in a pastry bag to flood, or fill in, the outline.
- Drizzle – Use a pastry bag to drizzle icing on desserts for a quick way to make any dessert look fancy.
Variations
- Almond extract – Add a couple of drops of almond extract for a mild almond flavor. You may need to add a bit more powdered sugar.
- Vanilla extract – Add a teaspoon of vanilla and reduce milk by a teaspoon
- Paint with Food Colors– If you’re an artist, use liquid food coloring and a clean fine-tipped brush to draw flowers, butterflies, or designs on the top of firm icing. Finish by writing someone’s name in fancy lettering with the food coloring for a special, personalized gift. It kind of looks like painted tiles.
- Glitter – Sprinkle icing with edible glitter before it sets.
Overview | How to Make Royal Icing
The full printable recipe is below.
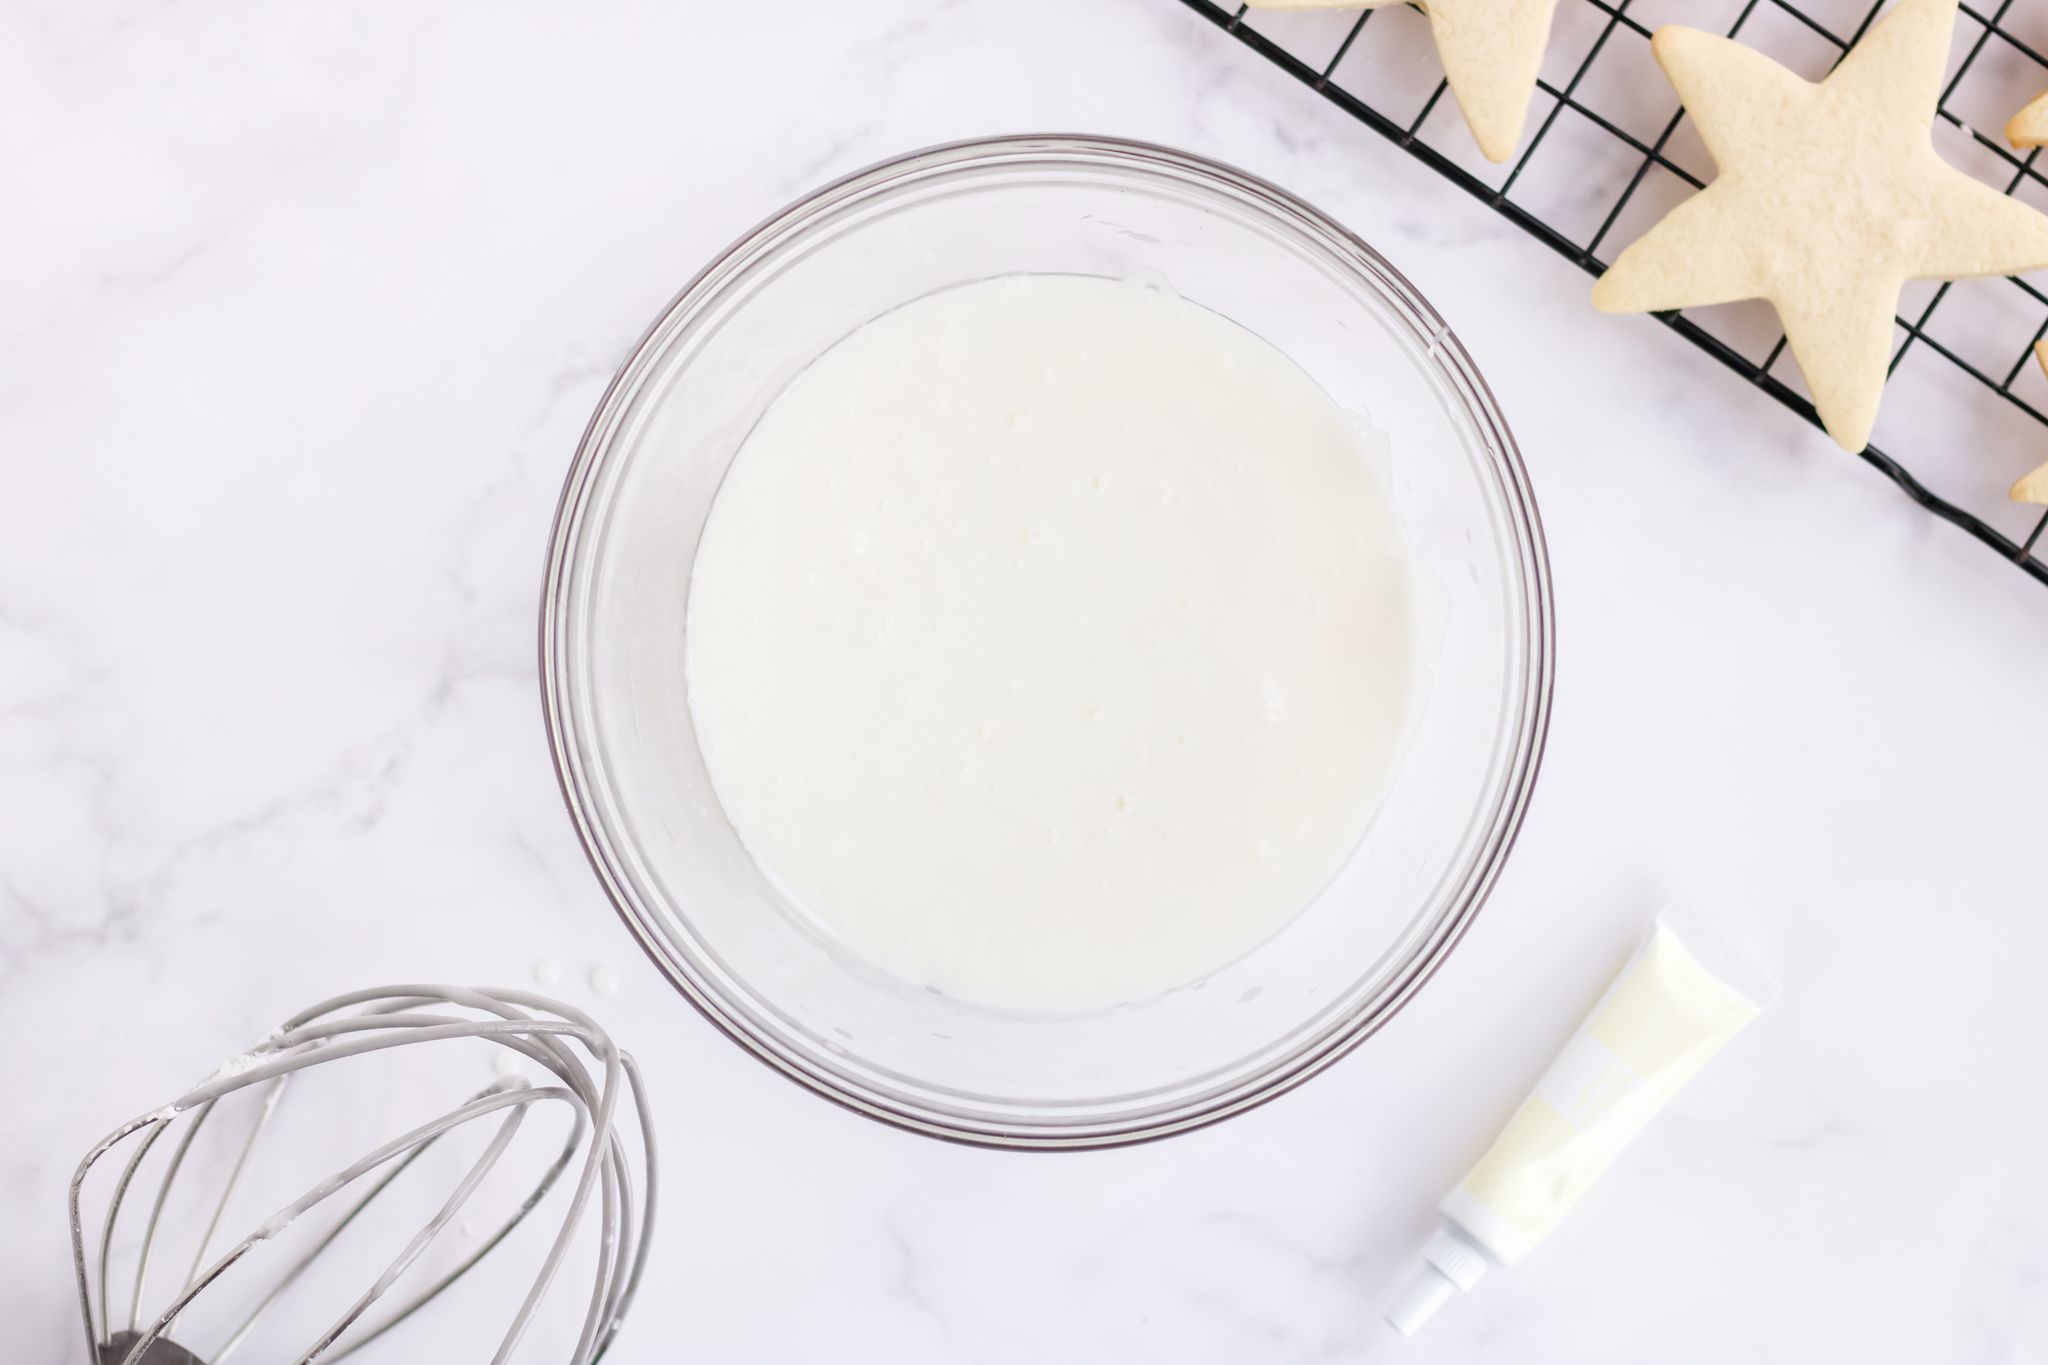
- Combine powdered sugar, milk, and corn syrup in a mixing bowl.

- Mix until ingredients are smooth.

- Add more milk to thin, a teaspoon at a time, if needed.
- Add more powdered sugar to thicken, just a little at a time, if needed.
- Stir in drops of food coloring until desired color is reached.
Tips
- Cover bowl with a wet paper towel when you’re icing cookies to keep a film from forming on the top.
- Periodically check the consistency of the icing as it may thicken while you’re using it. Adjust consistency as needed during the icing process.

How to Store
Royal icing can be stored in the refrigerator for up to a week. Keep it in a bag with as much air removed as possible, or store in an airtight container. Let royal icing come to room temperature before using. Mix a few times and adjust the consistency by adding more milk or powdered sugar.
Freeze royal icing in a bag that has air squeezed out. Let thaw in refrigerator and then come to room temperature before using. Knead the bag or place icing in a bowl and stir until it is completely smooth. Adjust consistency as necessary. Freeze for up to 2 months.
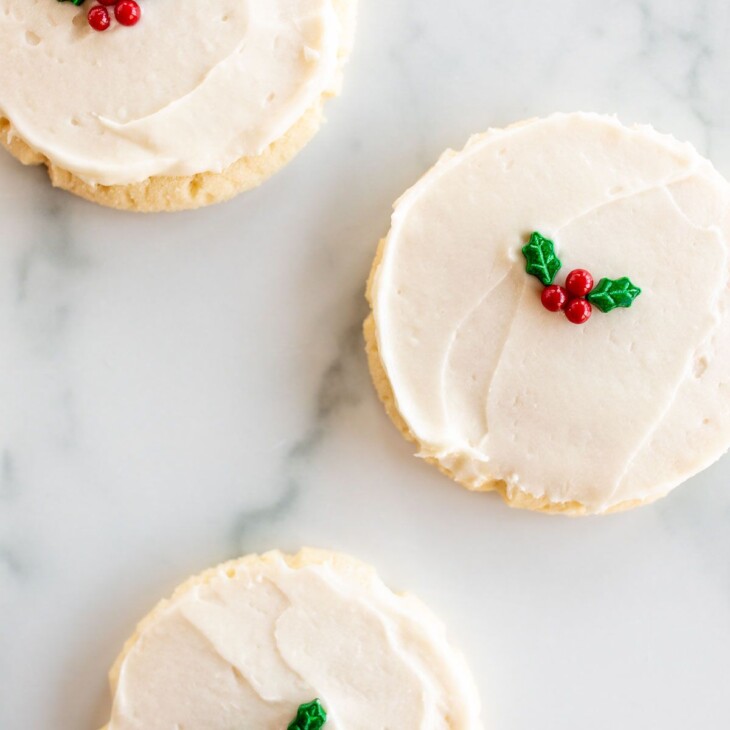
Royal icing is made so that it can smooth itself out and harden rather than be fluffy and soft. Many other frostings are made with butter so they can be fluffy and soft.
This variety of royal icing is intended to have a firm shell, but still be soft so it is more enjoyable to eat than the crunchy varieties. A royal icing that doesn’t have corn syrup would be better for gluing gingerbread houses together.
More Cookie Recipes

Royal Icing
Equipment
- Mixing Bowl
- Whisk or Mixer
- Measuring Cups and Spoons
Ingredients
- 3 cups powdered sugar
- ¼ cup milk
- ¼ cup corn syrup
- food coloring, optional
Instructions
- Mix powdered sugar, milk and corn syrup together in bowl until smooth
- Adjust consistency by adding a little more milk for thinning or powdered sugar for thickening
- Add drops of food coloring to reach desired color
Notes
- Cover bowl with a wet paper towel when you’re icing cookies to keep a film from forming on the top.
- Periodically check the consistency of the icing as it may thicken while you’re using it. Adjust consistency as needed during the icing process.
Join the cookie club! Receive the best new cookie recipes and tips delivered directly to your inbox!



Leave a Comment