

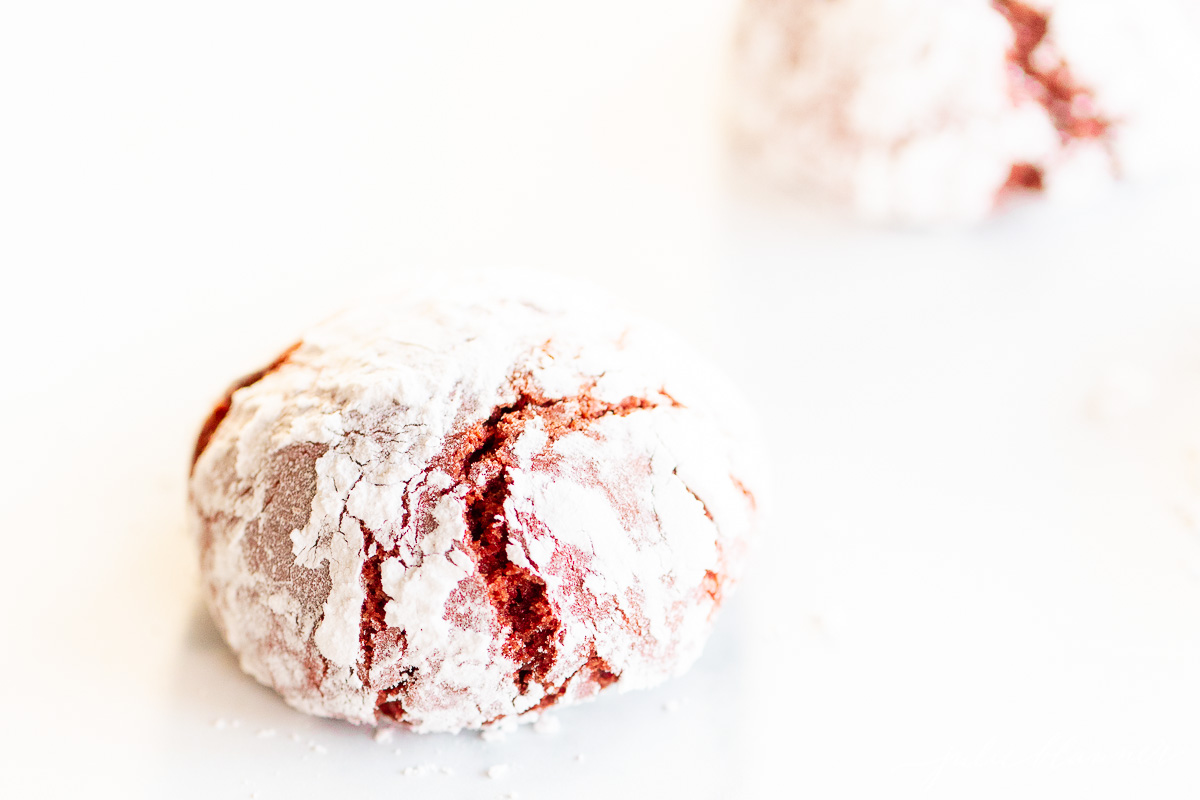
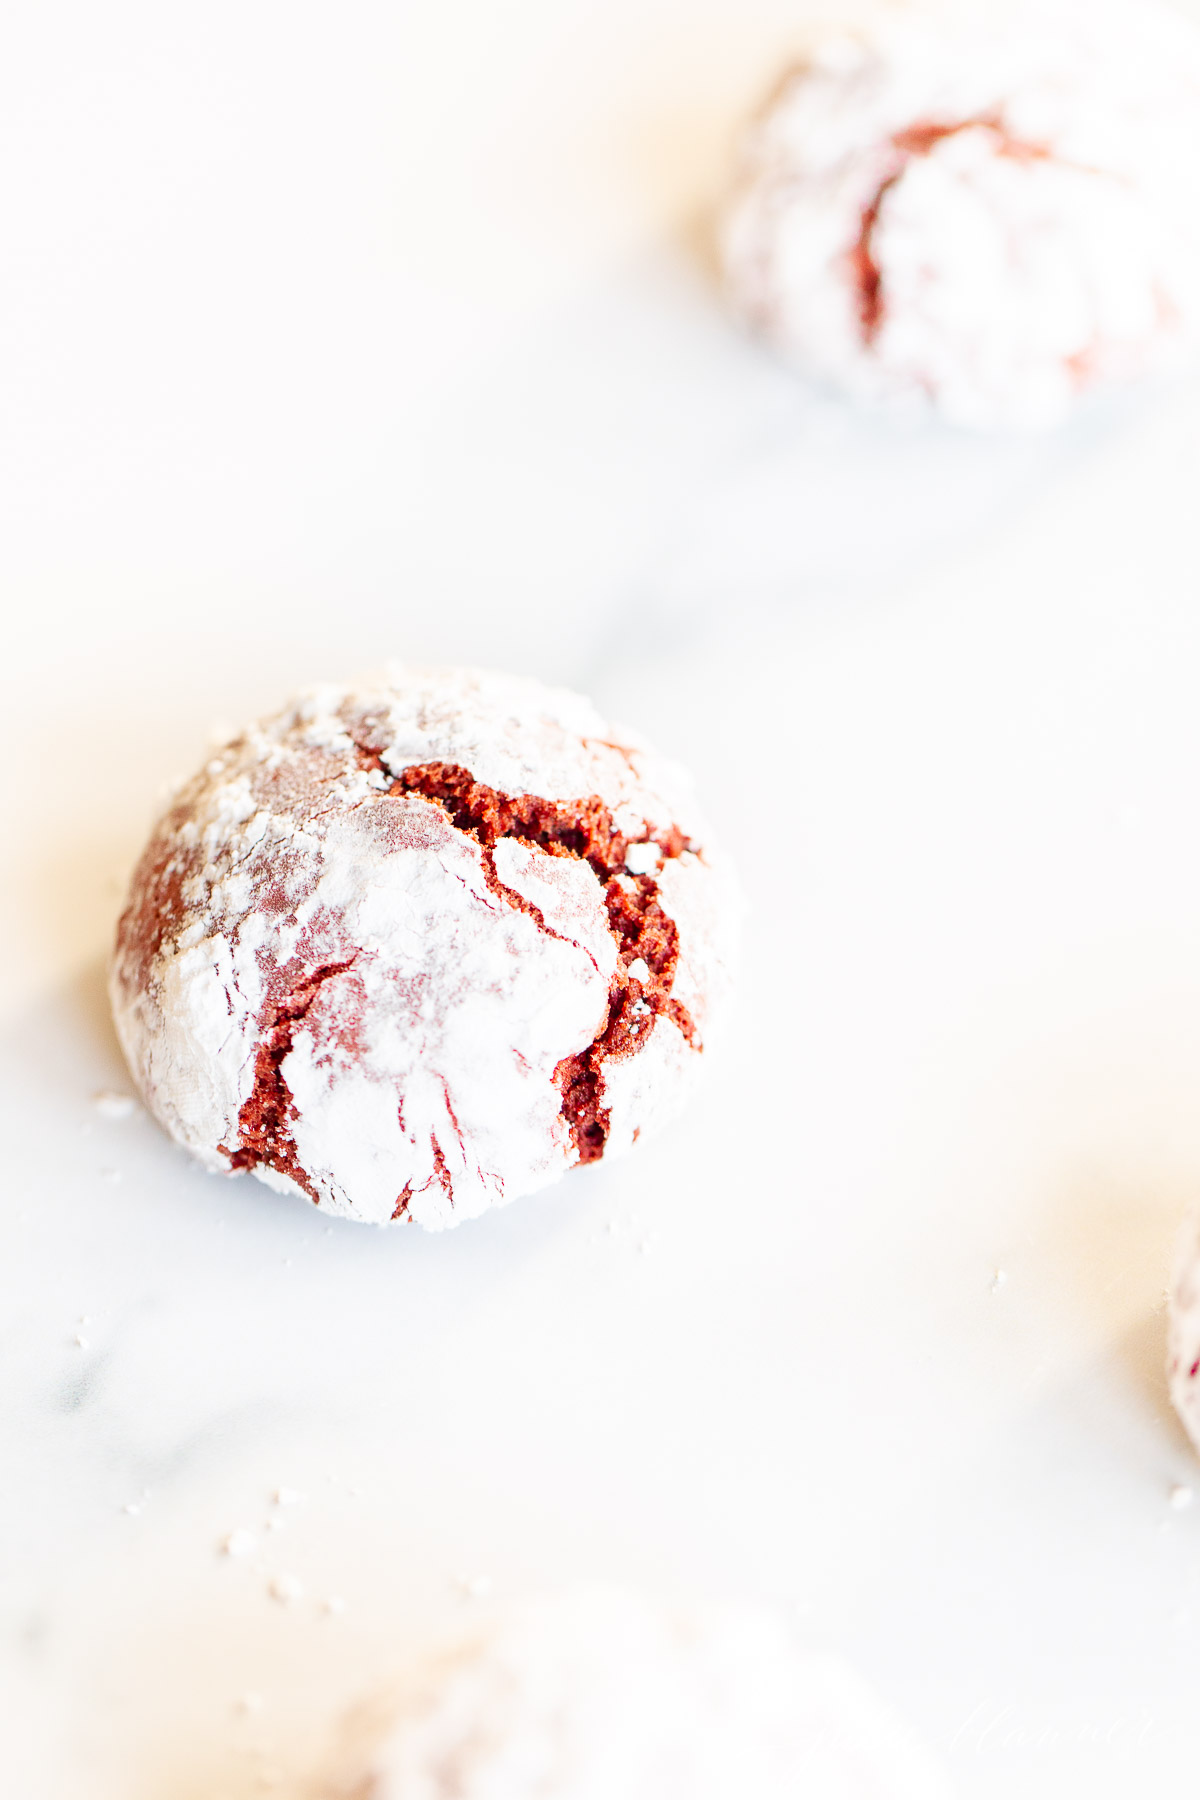
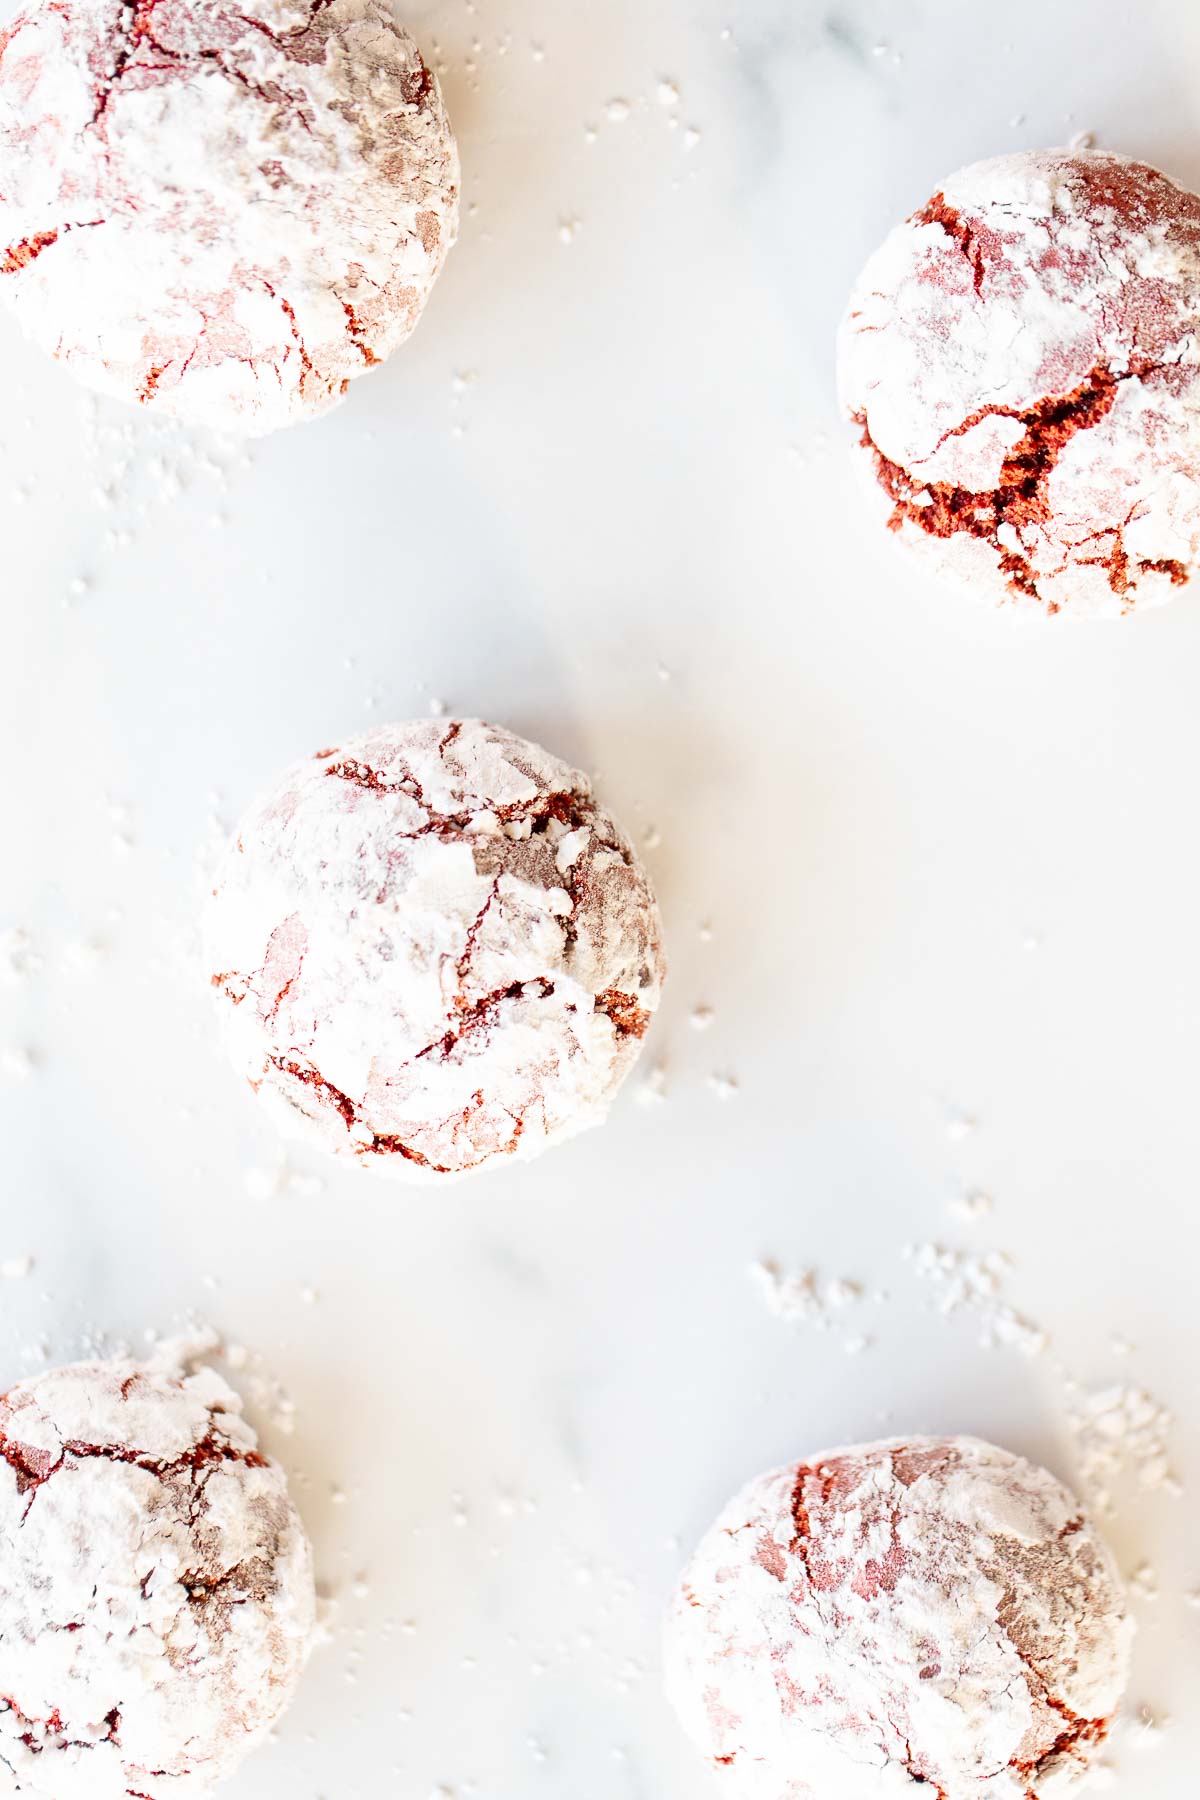
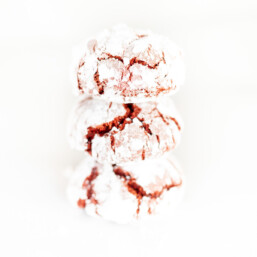
These Red Velvet Crinkle Cookies have it all – a smooth velvet texture, a hint of chocolate, and a gorgeous shade of red. They’re easy enough to whip up a quick batch, and they’re sure to be a favorite wherever they are.
These Crinkle Cookies are the perfect Christmas Cookies! They are quick and easy to make, using ingredients you probably already have on hand – perfect for a no-fuss holiday dessert.
Their deep red color makes them beautiful to take to a cookie exchange or put on a holiday cookie plate for neighbors and friends. And their dusting of powdered sugar looks like a winter wonderland of snow!

Velvet cakes were the height of luxury in the Victorian Era. They were made with cocoa, which made them smooth and soft. During WWII, when sugar and butter were rationed, bakers substituted beet juice into velvet cakes to make them sweet and soft.
One side benefit – the cakes turned a stunning shade of red. The resulting Red Velvet has been an American classic ever since. These Red Velvet Crinkle Cookies let you enjoy the indulgence of classic red velvet cake in an easy-to-make, bite-size morsel.
And, of course, you can’t forget these gorgeous cookies for Valentine’s Day! With their subtle chocolate flavor and deep red color, Red Velvet Crinkle Cookies are the perfect dessert to share with the people you love. These would be delicious topped with a fluffy cream cheese frosting, too.
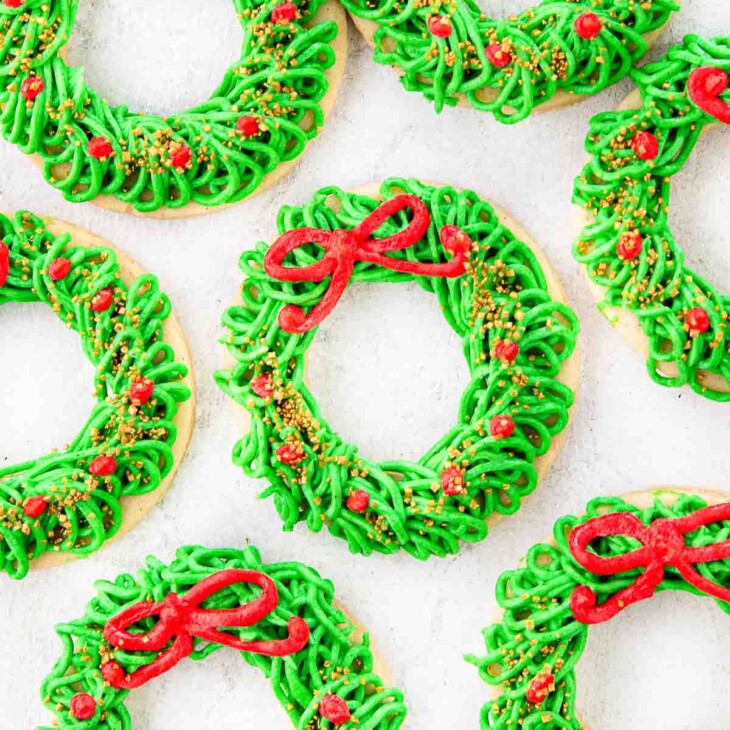
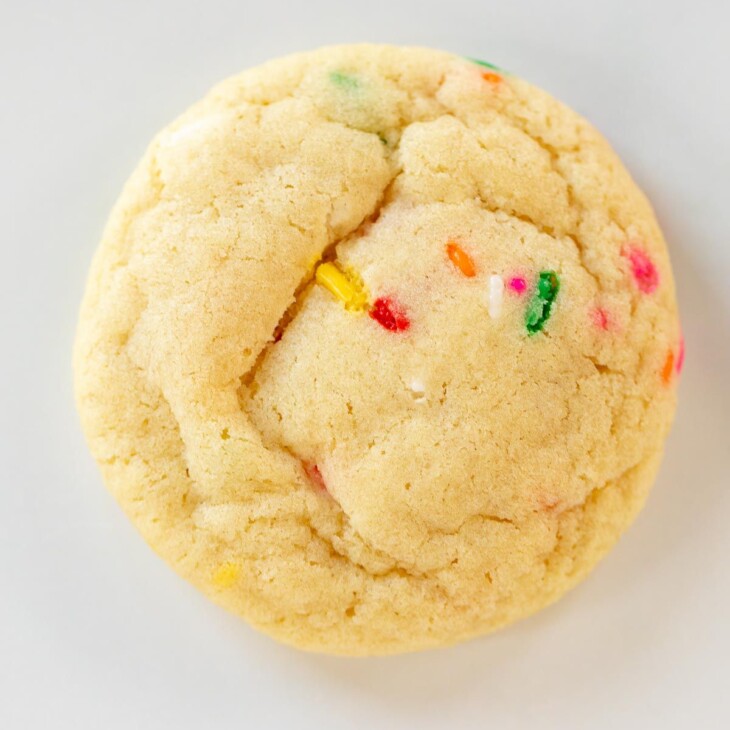
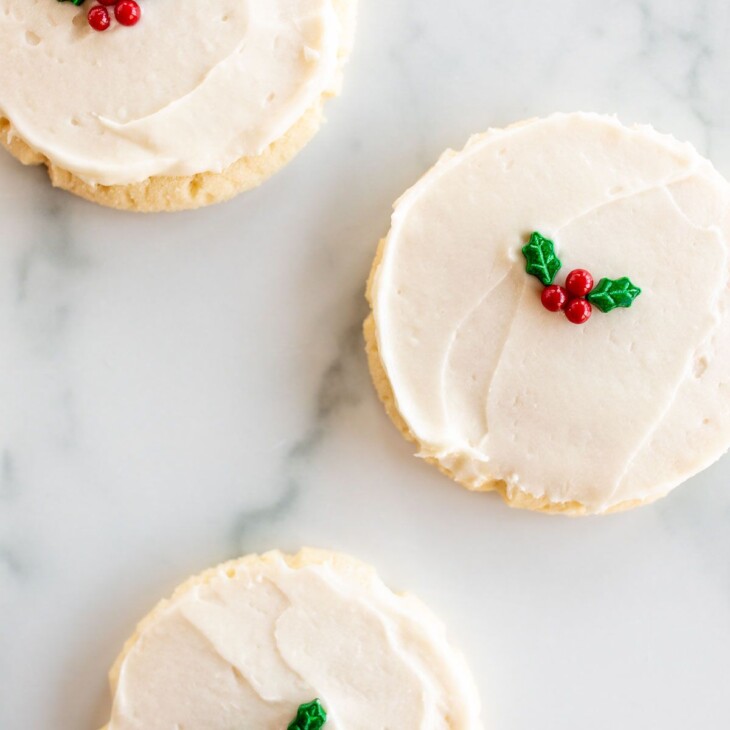
Give these a try on a cookie plate today! They would look so pretty and taste delicious with these Christmas Sugar Cookies or Funfetti Cookies. Plus you can easily adapt either recipe for Valentine’s Day – just add conversation hearts or red and pink sprinkles!
These Crinkle Cookies have the perfect texture. They’re firm but not crunchy on the outside. They’re soft, maybe even a little fudgy, on the inside. The cocoa powder gives them a subtle chocolate flavor that is oh so good, and the sprinkling of powdered sugar adds just the right amount of extra sweetness.
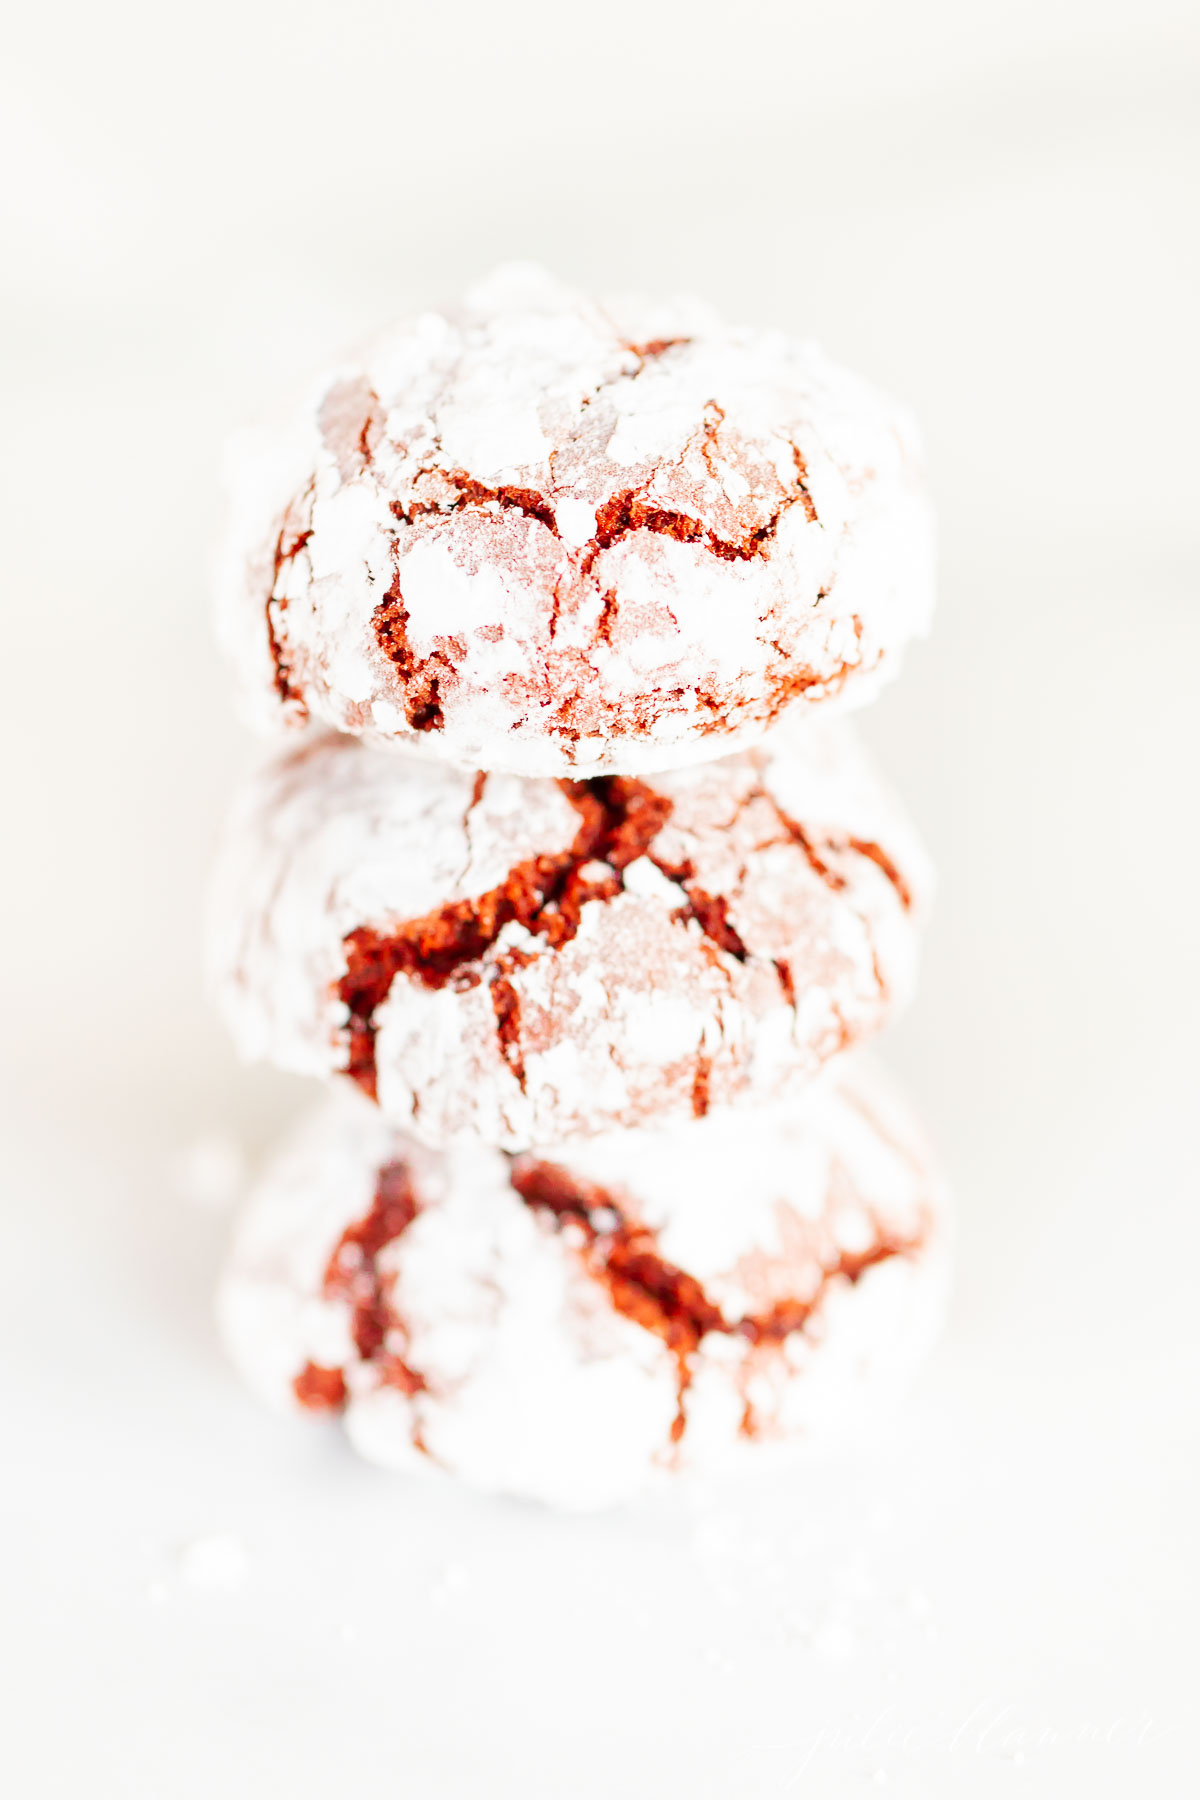
Table of Contents
About Red Velvet Crinkles
- Firm Outside, Soft Inside
- Subtle Chocolate Flavor
- Quick Prep Time
- Use Staple Ingredients
Tools You Need
- Mixer – Stand or handheld
- Measuring Cups and Spoons
- Rubber Spatula
- Baking Sheet
- Optional: Parchment Paper – For the easiest clean up
- Optional: Medium Cookie dough scoops – The best way to get a consistent cookie size, but you can also use a spoon
What You Need to Make Red Velvet Crinkle Cookies
- Flour – All-purpose flour keeps these cookies soft on the inside.
- Unsweetened Cocoa Powder – For a subtle chocolate flavor and smooth texture.
- Baking Powder – Helps these cookies rise to just the right amount.
- Baking Soda – Another leavening agent to help with rising.
- Salt – Just a touch for the perfect flavor. Omit if using salted butter.
- Butter – Use unsalted for the best flavor. Read about Salted vs. Unsalted Butter here. Soften to room temperature for easier creaming and the perfect bake.
- Brown Sugar – Light or dark, packed. Makes these chewy and moist.
- Sugar – White granulated sugar to sweeten the cookies.
- Eggs – 2 large eggs add moisture and help bind everything together.
- Milk – Adds flavor and softens the texture.
- Vanilla – Pure vanilla extract gives the best flavor.
- Red Food Coloring – Gives these cookies their signature red color.
- Powdered Sugar – Use for a light, sweet coating to create the crinkle.
Variations
- Chocolate Chips – After mixing the dough, add ¾ cups white or chocolate chips and mix until combined for an even sweeter Crinkle Cookie. Bake as instructed.
- Blossoms – Turn your cookies into Red Velvet Crinkle Cookie Blossoms. Remove from the oven with two minutes left on the timer, press a Hershey’s Kiss into the top, then return to the oven for the remaining two minutes. For the complete tutorial, follow the steps at this Peanut Butter Blossoms recipe.
- Frost – Skip the powdered sugar and frost with a fluffy cream cheese frosting instead.

Overview | How to Make Red Velvet Crinkle Cookies
The full printable recipe is below
- Combine Dry Ingredients
- Cream Butter and Sugars
- Add Eggs, Vanilla and Food Coloring
- Gradually Add Dry Mixture to Wet Mixture Until Combined
- Chill Dough
- Prep – Preheat oven and line a baking sheet with parchment paper.
- Make Dough Balls – Scoop dough using 1″ cookie scoop or teaspoon and roll into balls in palms of hands. Roll balls in powdered sugar to coat.
- Bake
Tips
- Roll the dough ball in powdered sugar twice. Make sure to get plenty on there. You want a thick layer so all of it doesn’t dissolve into the cookie during baking. You can also dust them just before going in the oven to cover fingerprints if needed.
- Do not overbake. Remove them from the oven when the tops are cracked and the insides are still a bit gooey. This will give you the perfect firm on the outside, soft on the inside cookie.
How to Store
Room Temperature – Store in an airtight container at room temperature for 3-5 days.
Freeze Cookies – Allow baked cookies to cool completely before freezing. Freeze in a freezer bag or airtight container for up to 3 months. Let thaw in fridge or on counter before eating. You may want to sprinkle with extra powdered sugar.
Freeze Dough – Freeze balls BEFORE rolling in powdered sugar. Store in a freezer bag or airtight container (separate layers with parchment paper) for up to 3 months. Remove from freezer and allow to thaw before rolling in powdered sugar. Bake according to instructions.
Frequently Asked Questions
Remove from oven when the cracks still look a bit “wet” deep inside. The cookies will keep baking on the cookie sheet for another couple minutes before you transfer them to a cooling rack.
Roll the balls of dough in powdered sugar BEFORE baking. Make sure to get a nice, thick layer so there’s plenty left over after some it has dissolved into the cookie during baking.

Red Velvet Crinkle Cookies
Ingredients
- 2 cups all purpose flour
- ⅓ cup unsweetened cocoa powder
- 1¼ teaspoons baking powder
- ¼ teaspoon baking soda
- ¼ teaspoon salt
- 4 tablespoons unsalted butter, softened
- ½ cup brown sugar, packed
- ½ cup white granulated sugar
- 2 large eggs
- 1 tablespoon milk
- 2 teaspoons vanilla extract
- ½ teaspoon red food coloring, or to preference
To Coat
- ½ cup powdered sugar
Instructions
- In a medium mixing bowl, whisk together flour, cocoa powder, baking powder, baking soda, and salt. Set aside.
- In a large mixing bowl, cream butter and sugars until light and fluffy, about 3 minutes.
- Add eggs, vanilla, and red food coloring. Mix until well combined.
- Gradually add dry mixture to wet mixture until combined.
- Cover and refrigerate dough 30 minutes.
- Preheat oven to 350° F. Line a baking sheet with parchment paper for easy cleanup. Scoop dough using 1" cookie scoop or teaspoon and roll into balls in palms of hands. Roll balls in powdered sugar to coat. Place spaced on cookie sheet.
- Bake 10 minutes or until cracked but slightly gooey.
- Allow to cool 1 minute before transferring to a cooling rack.
Notes
Variations
- Add Chocolate Chips – Fold in 1 cup of white, milk or semi-sweet chocolate chips.
- Ice
Tips
- Roll the dough ball in powdered sugar twice. Make sure to get plenty on there. You want a thick layer so all of it doesn’t dissolve into the cookie during baking. You can also dust them just before going in the oven to cover fingerprints if needed.
- Do not overbake. Remove them from the oven when the tops are cracked and the insides are still a bit gooey. This will give you the perfect firm on the outside, soft on the inside cookie.
To Store
- Room Temperature – Store in an airtight container at room temperature for 3-5 days.
- Freeze Cookies – Allow baked cookies to cool completely before freezing. Freeze in a freezer bag or airtight container for up to 3 months. Let thaw in fridge or on counter before eating. You may want to sprinkle with extra powdered sugar.
- Freeze Dough – Freeze balls BEFORE rolling in powdered sugar. Store in a freezer bag or airtight container (separate layers with parchment paper) for up to 3 months. Remove from freezer and allow to thaw before rolling in powdered sugar. Bake according to instructions.
Leave a Comment